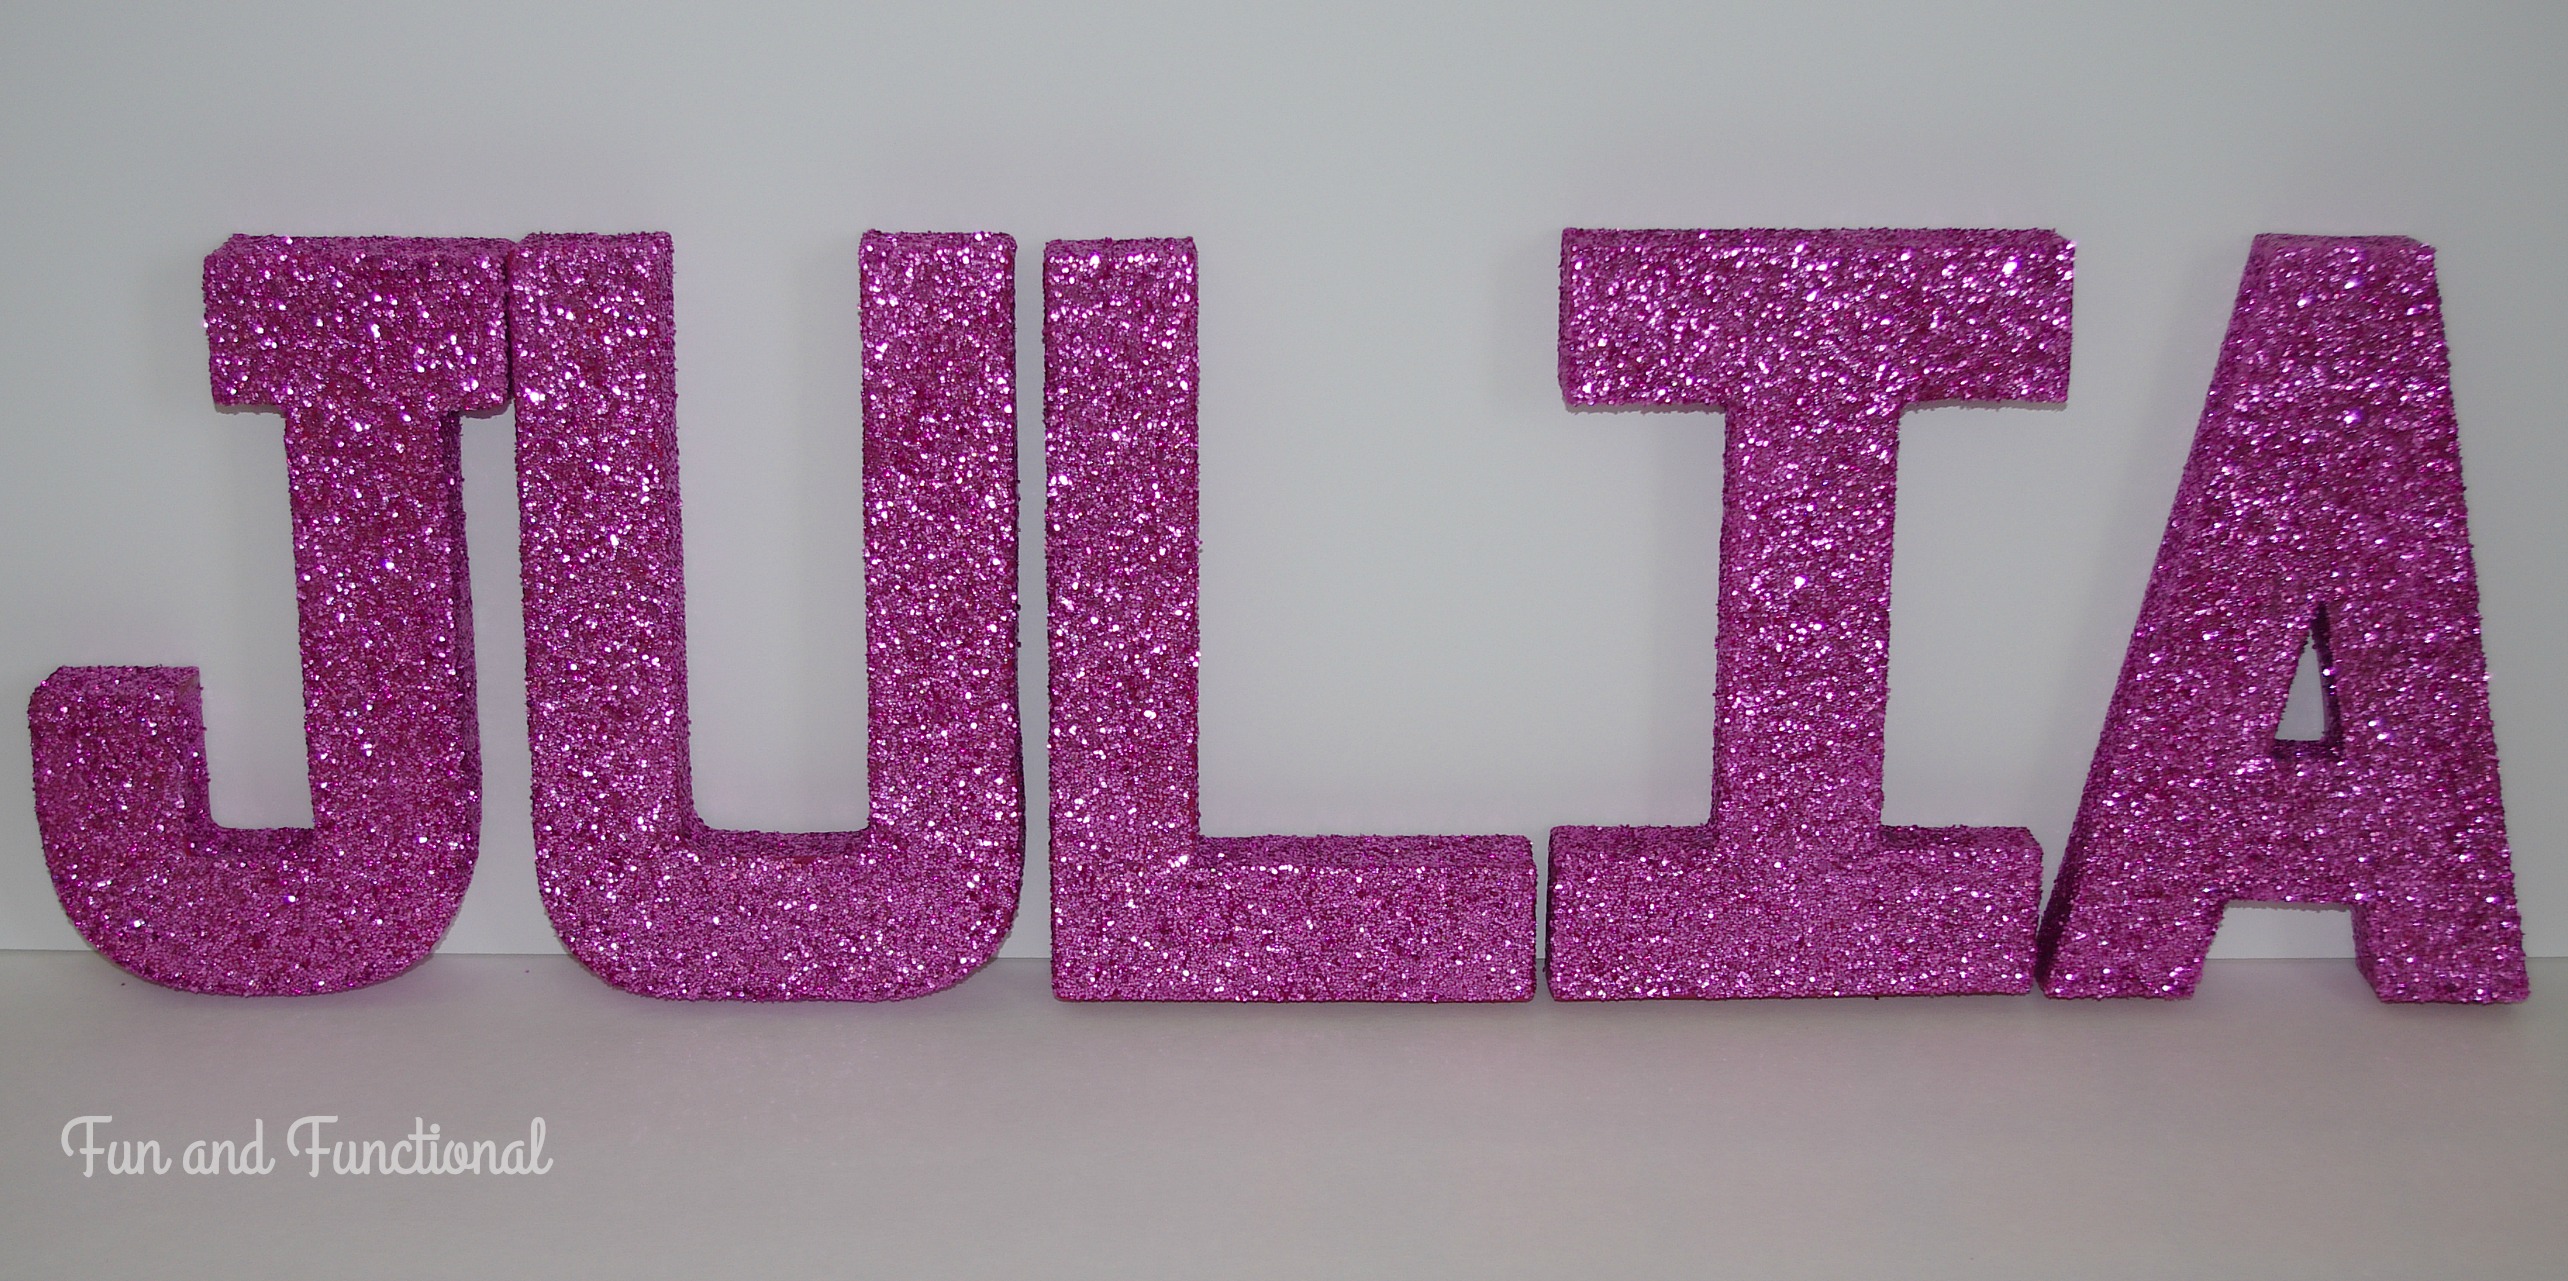
When I found out I was having a baby girl, I was excited to add some pink to the nursery! Her name was going to be Julia, so I decided to make some paper mache pink glitter letters to put on her shelf. I may have gone a little overboard with the pink glitter, but I am very happy with the way they turned out!

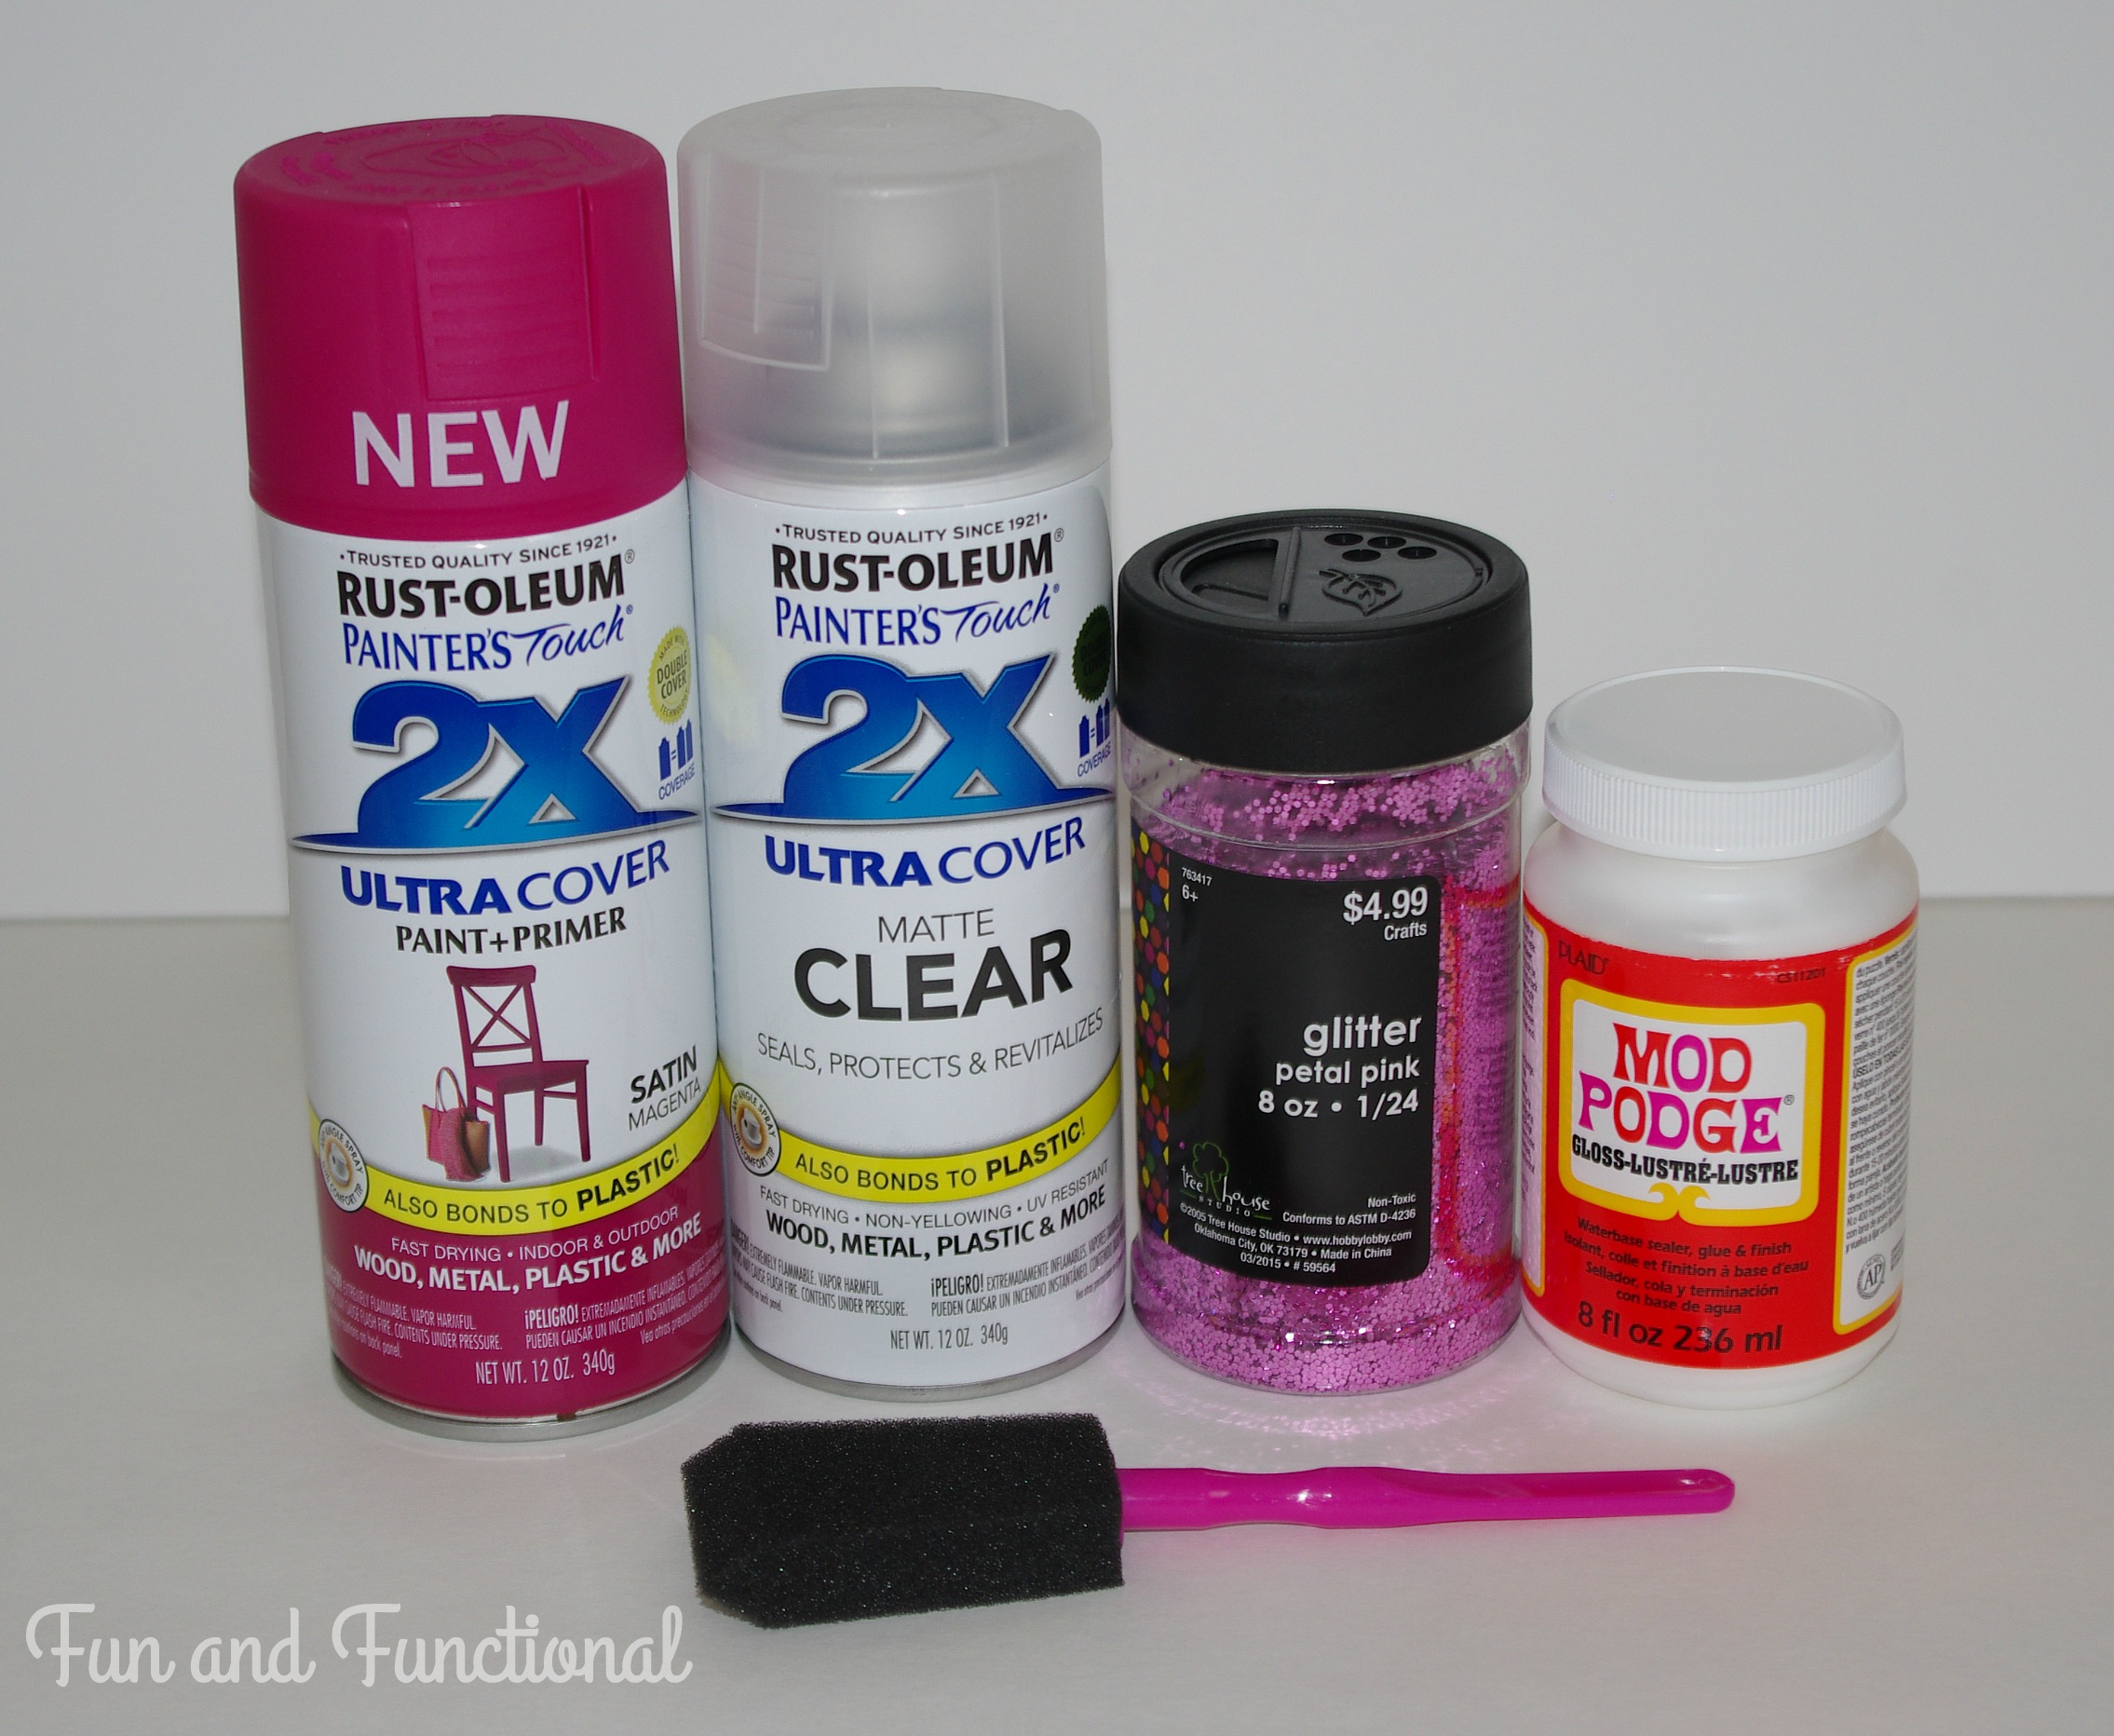
The supplies I used for this project include:
- Paper Mache Letters
(similar)
- Pink Spray Paint
- Mod Podge
- Foam Brush
- Glitter
- Clear Spray
The first thing I did was spray paint the letters pink. Even though I was planning to cover the letters in pink glitter, I wanted the letters to be pink in case the glitter didn’t cover the entire surface.
The back of the letters were going to be against the wall, but I went ahead and painted the back of the letters pink anyway. This probably wasn’t necessary, but I am picky and would have been disappointed later if any brown from the back of the letters would have been visible.
After the pink spray paint was dry, I added the glitter. Using the foam brush, I covered part of a letter with the mod podge and then added glitter. Then I covered another part of the letter with mod podge and added more glitter. I did a little bit at a time instead of the whole letter at once because I didn’t want the mod podge to dry before I got a chance to add glitter.
I covered the front and sides of the letters with glitter. Adding glitter was a messy process. It was helpful to put some paper under the letters to catch the excess glitter so it could be reused. After I added glitter to all of the letters, I let them dry completely.
There were some places where the glitter didn’t stick very well, so I added some more mod podge and glitter. I repeated until I was happy with the way the letters looked. In my case, that wasn’t until every visible surface was covered in glitter!
After waiting for the letters to dry, I added SEVERAL coats of clear spray. This was to keep the glitter from falling off.
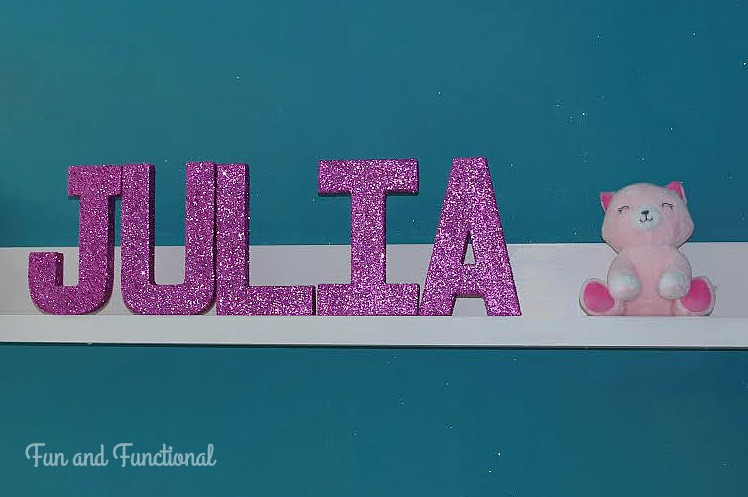
I love the pop of pink these letters bring to the room. 🙂 Here they are on her shelf.
Have you had experience using mod podge and glitter?
Have a great day!
♥Jena♥
This post contains affiliate links. For more information, see my disclosures here.