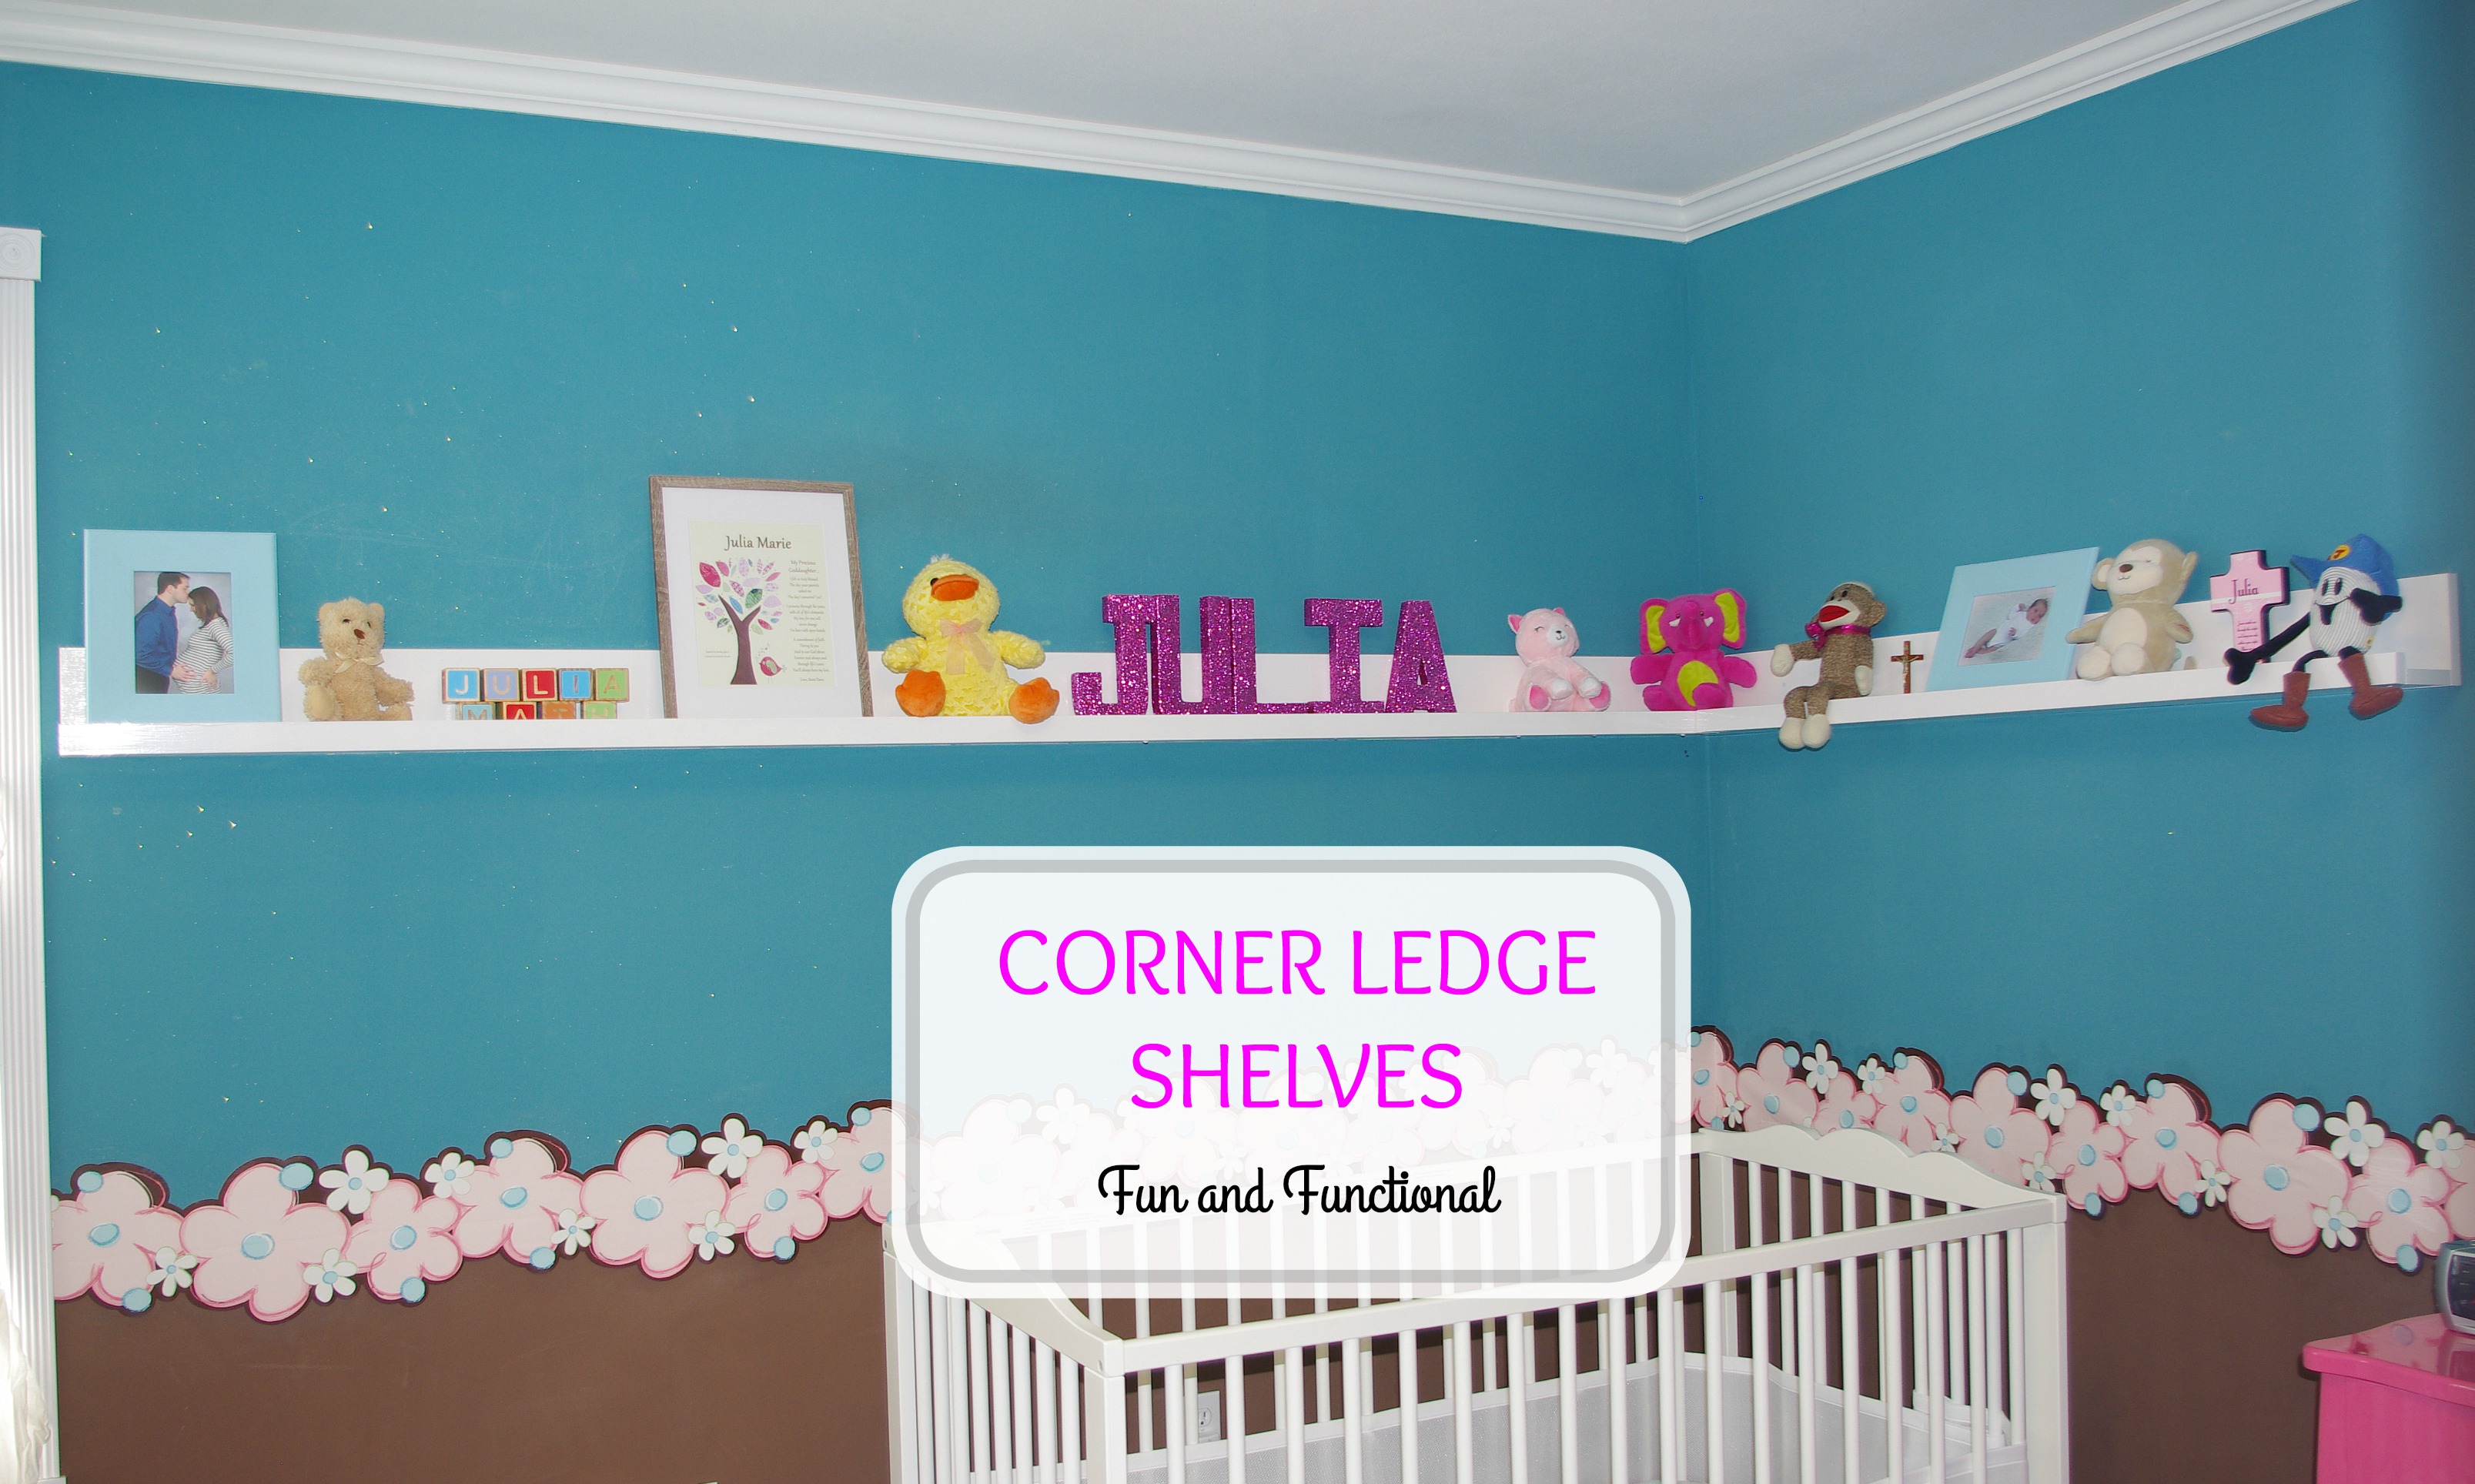
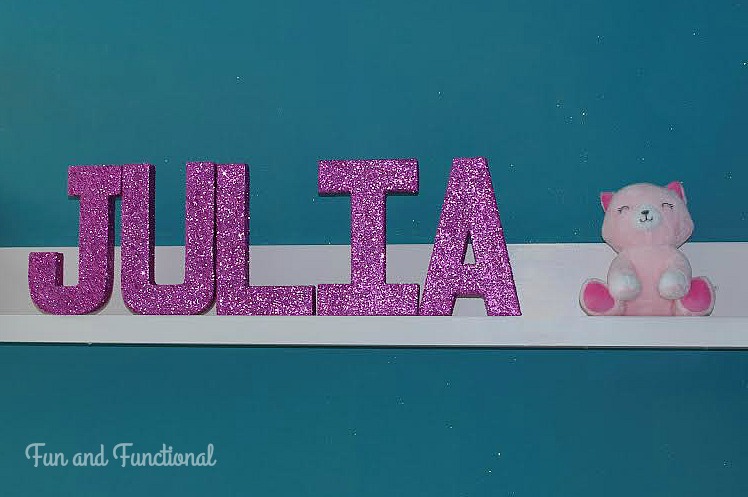
You probably saw the white shelves in the nursery here when I talked about the pink glitter letters I made. My husband and I built ledge shelves that run along two walls and meet in the corner.
The previous home owners had built a lofted bed in the room that we are currently using as the nursery. We had to take it down when turning the bedroom into a nursery because we needed the space. Below is a picture of what the room looked like before.
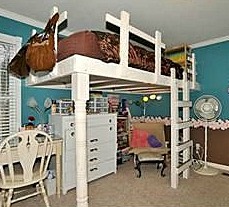
When we removed the lofted bed, there were holes and yellow paint on the walls where the bed had been. We wanted an easy way to cover up the holes and yellow paint without re-painting the whole room. We also wanted to keep the holes in the walls so we could easily put the loft back up when Julia was old enough to sleep in it.
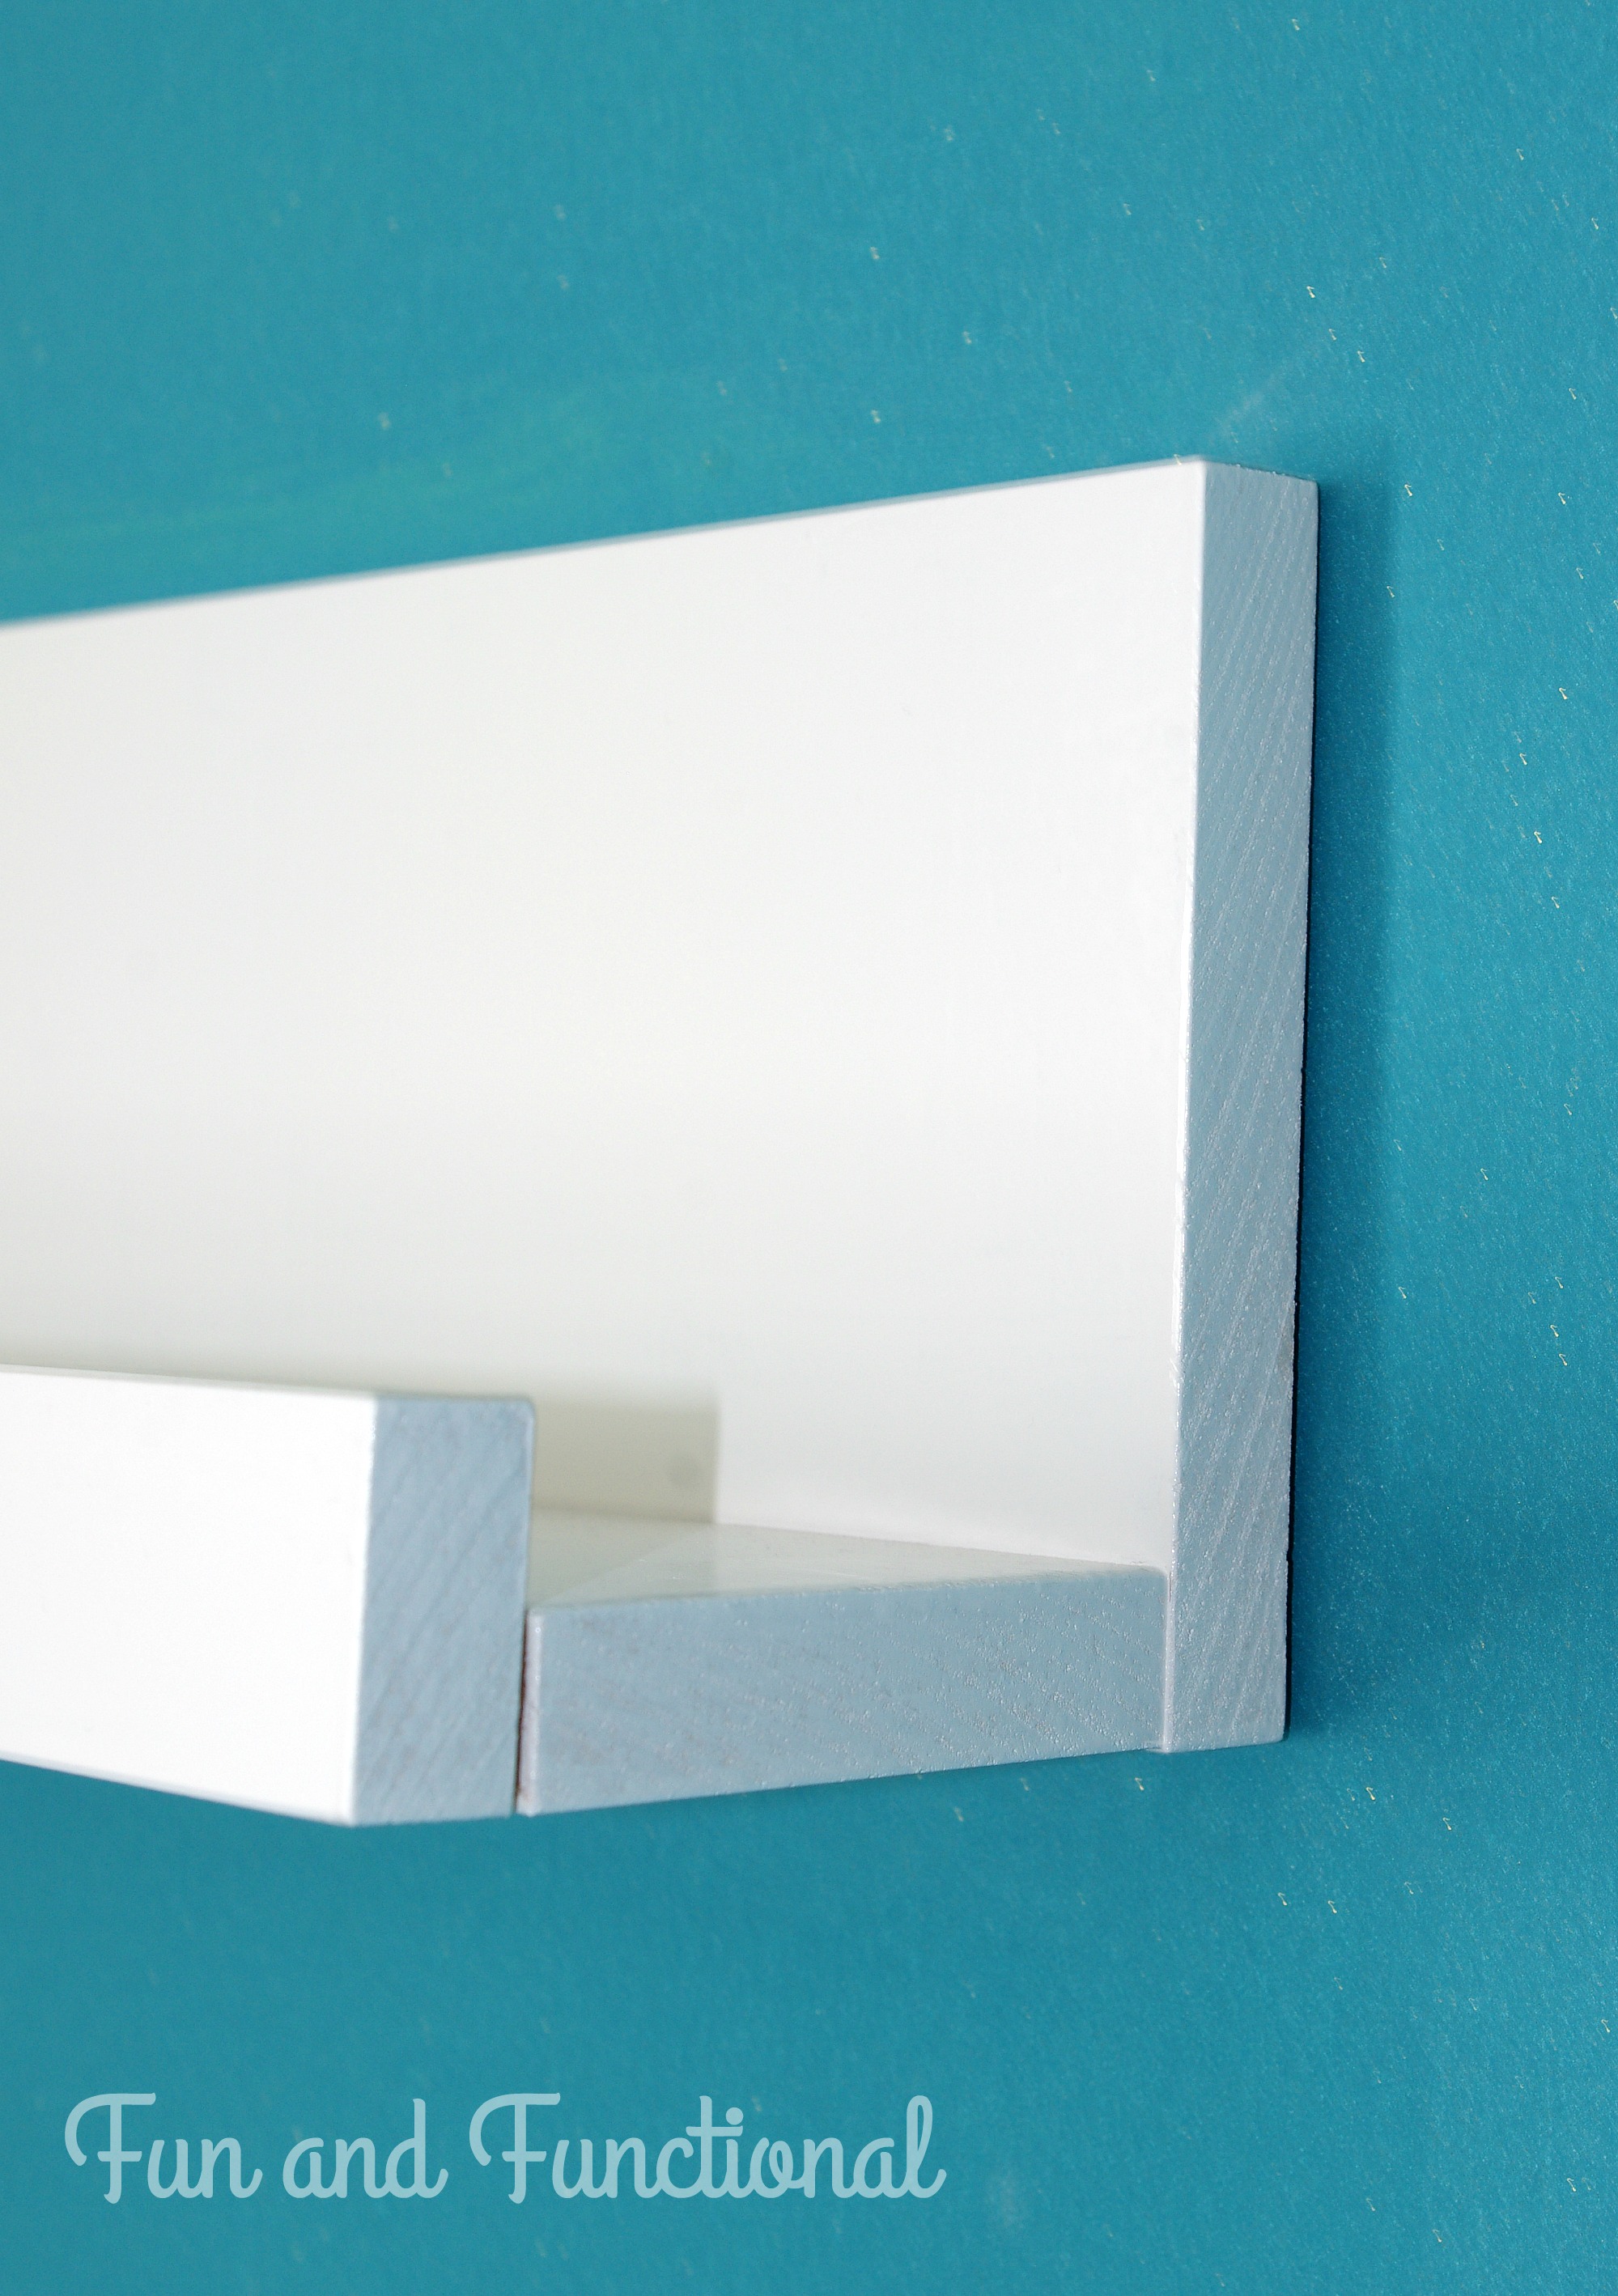
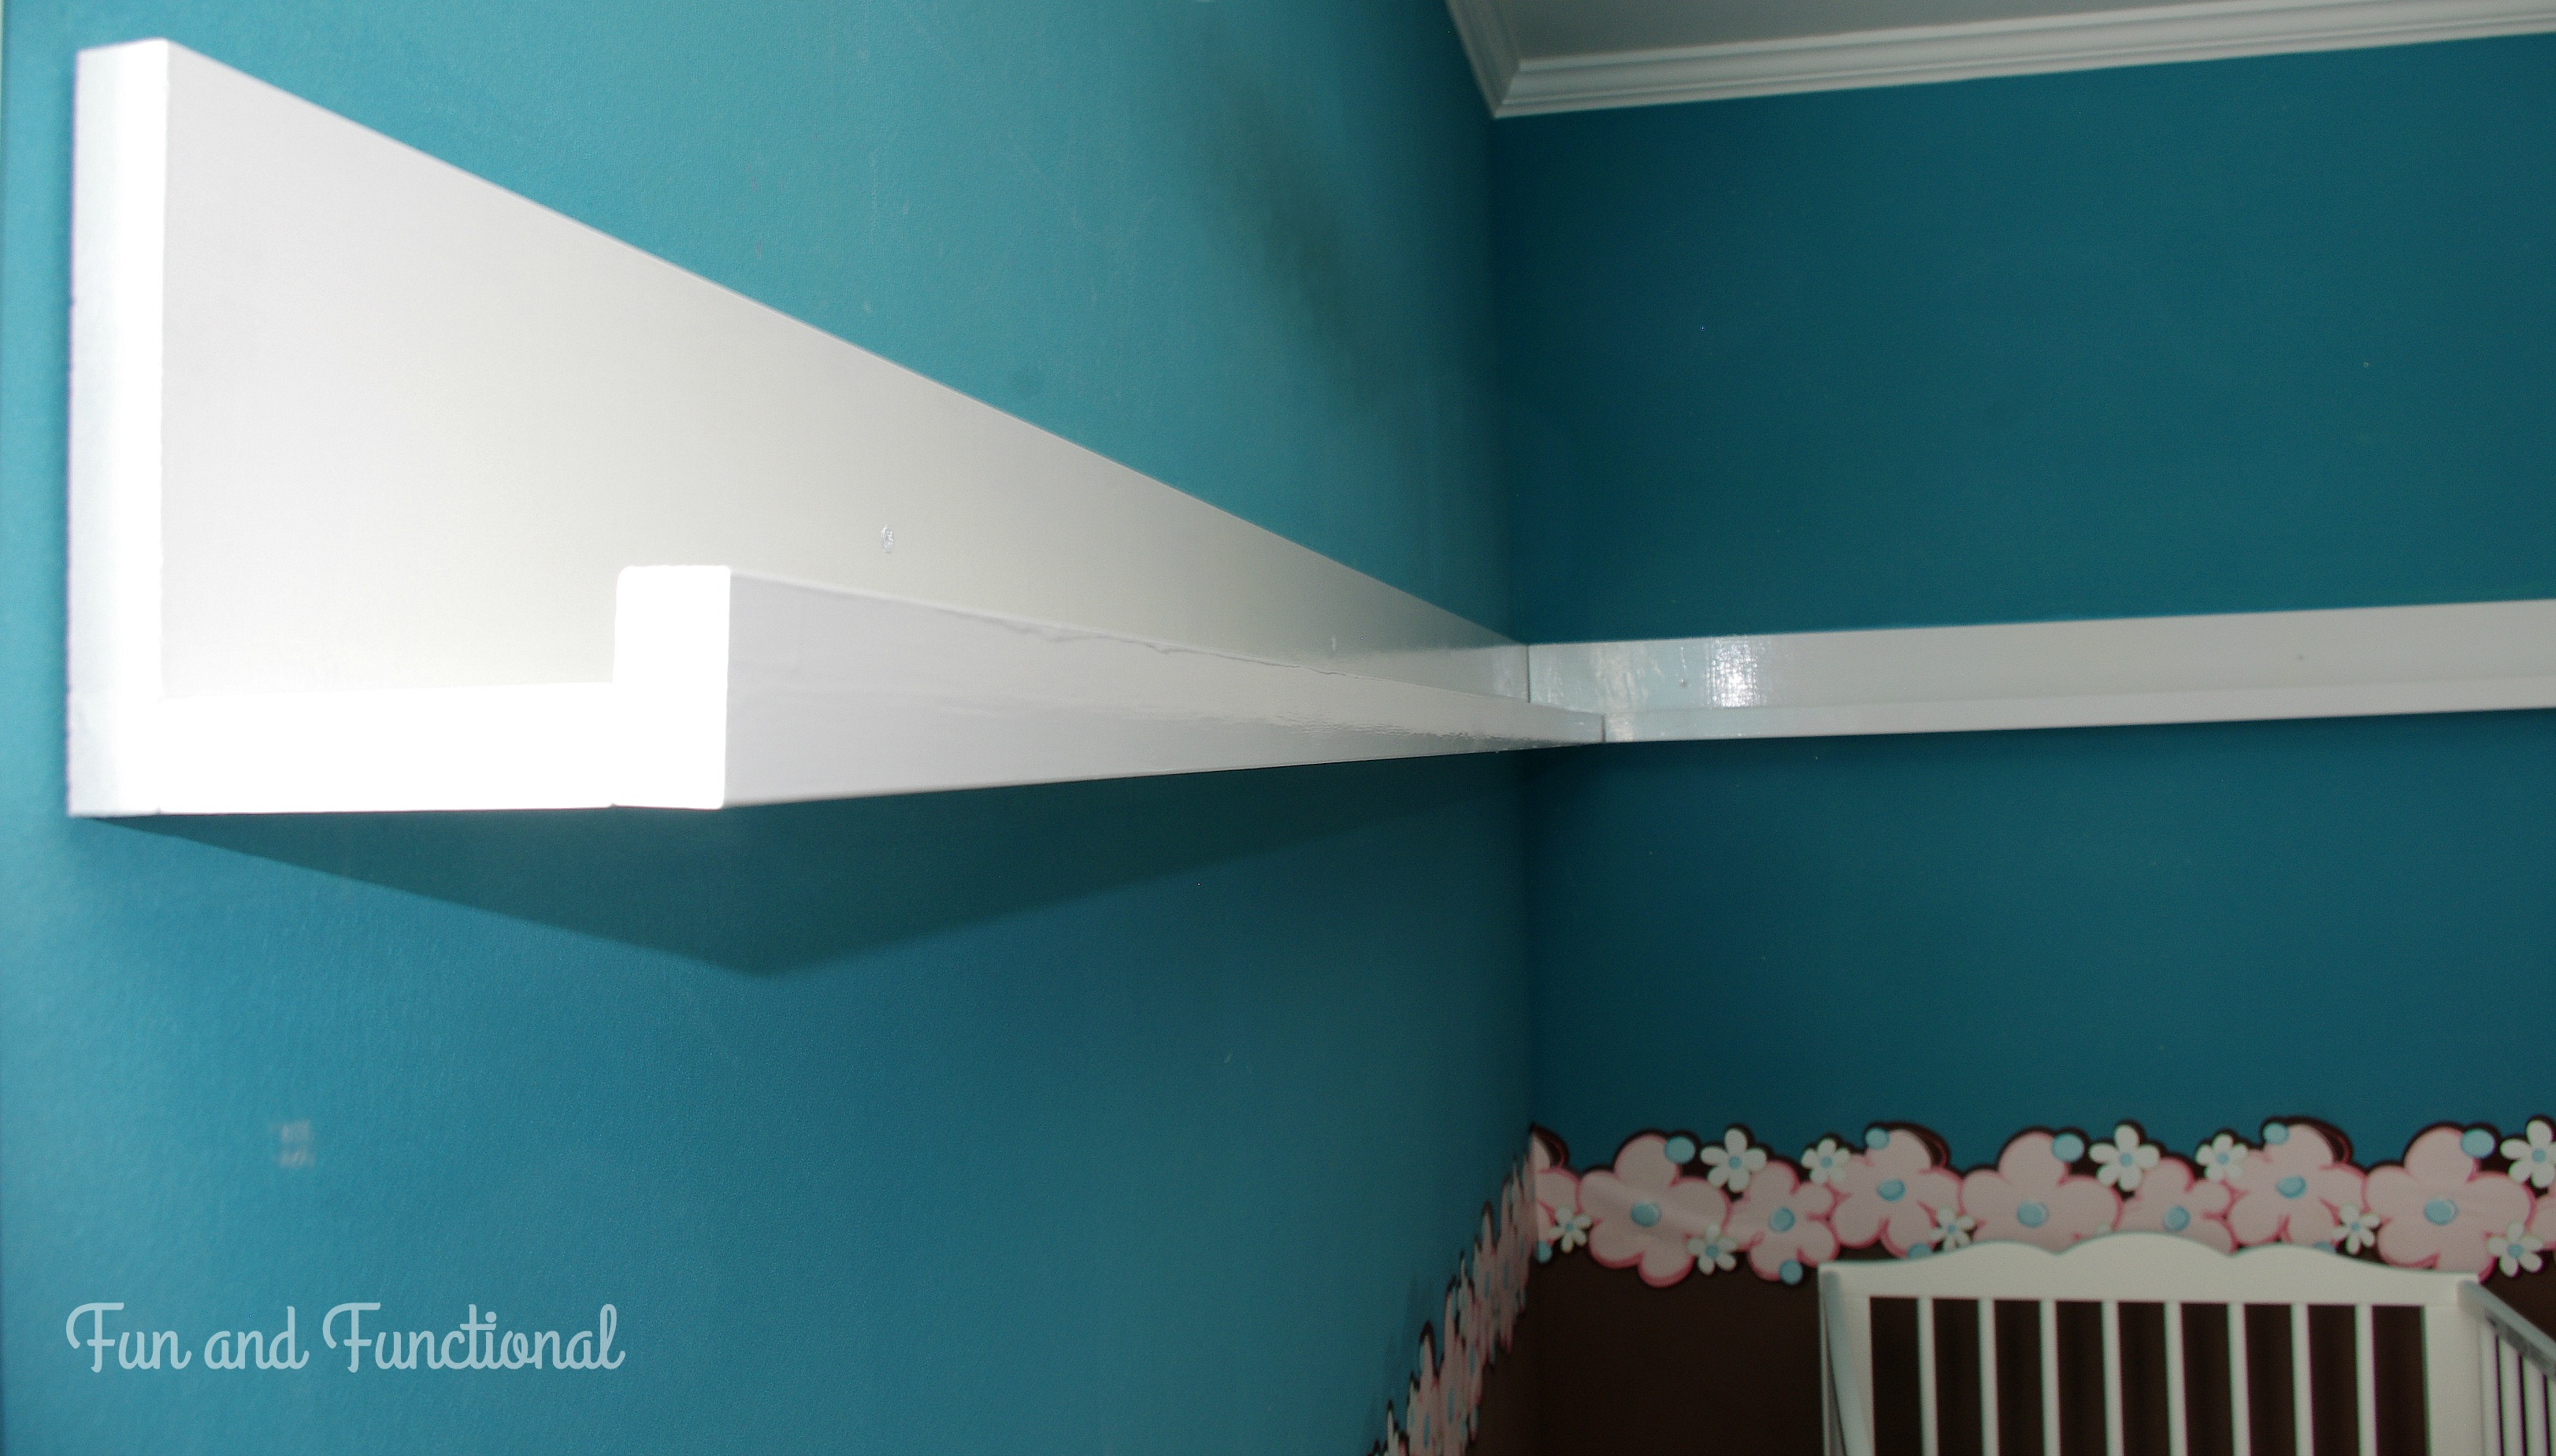
Our solution was to make ledge shelves that covered up that part of the wall. We used Ana White’s plan with some modifications. Instead of using a 1×4 for the back of the shelves, we used a 1×6. This allowed us to cover up the holes and the paint that we didn’t want showing. We also modified the plans so we could have the shelves meet in the corner of the room.
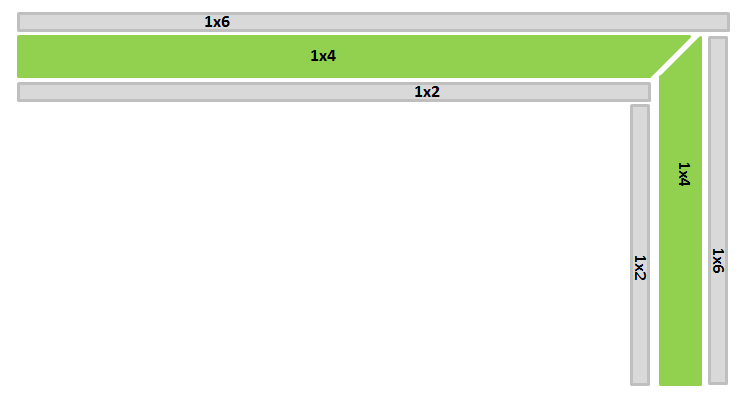
It’s easier to explain what we did with a picture. This is what the shelves would look like if you are looking at them from above.
There are probably many ways to do this, but this is how we did it. We didn’t have much experience with building, so we wanted to keep the number of angled cuts to a minimum.
The 1×6 boards are the boards that are against the wall. We didn’t want to make any angled cuts on the 1×6 boards, so we put the long 1×6 board all the way into the corner where the shelves would meet. It was touching two walls total. Then the short 1×6 board was placed so that it would meet up with the long 1×6 board in the corner. This board was touching one wall and the long 1×6 board.
The 1×4 boards are the part of the shelves that hold picture frames and other room décor. We made 45 degree angled cuts on the 1×4 boards so that they would meet up nicely in the corner.
The 1×2 boards are on the front part of the shelves. They keep items from falling off of the shelves. Again, we didn’t want to make angled cuts on these pieces of wood, so we did the same thing we did with the 1×6 boards. The long 1×2 board covers the whole length of the long 1×4 board and then touches the short 1×4 board. The short 1×2 board is slightly shorter than the length of the short 1×4 board because it meets up with the long 1×2 board in the corner.
It is important to plan ahead and double check all of your measurements. Also, make sure you are making the cuts on the correct pieces of wood. My husband and I had a communication error that resulted in us making one of the angled cuts on the wrong piece of wood. Oops. Thank goodness for wood filler!
After all of the cuts were done and the piece that we messed up was fixed, we arranged all of the pieces on the floor while crossing our fingers that everything lined up correctly. It looked good so we screwed the long 1×6, long 1×4, and long 1×2 together using my Kreg Pocket Hole Jig. Then we screwed the short shelf together.
The long shelf and the short shelf were not connected. We just made sure to line them up so that they were touching when we hung them on the walls.
By the way, I painted the shelves using Glidden Antique White Gel Paint. I love this paint and have used it on multiple projects. It creates a very smooth and glossy finish that is very easy to wipe clean. It’s also very durable and doesn’t chip. I found it at Home Depot.
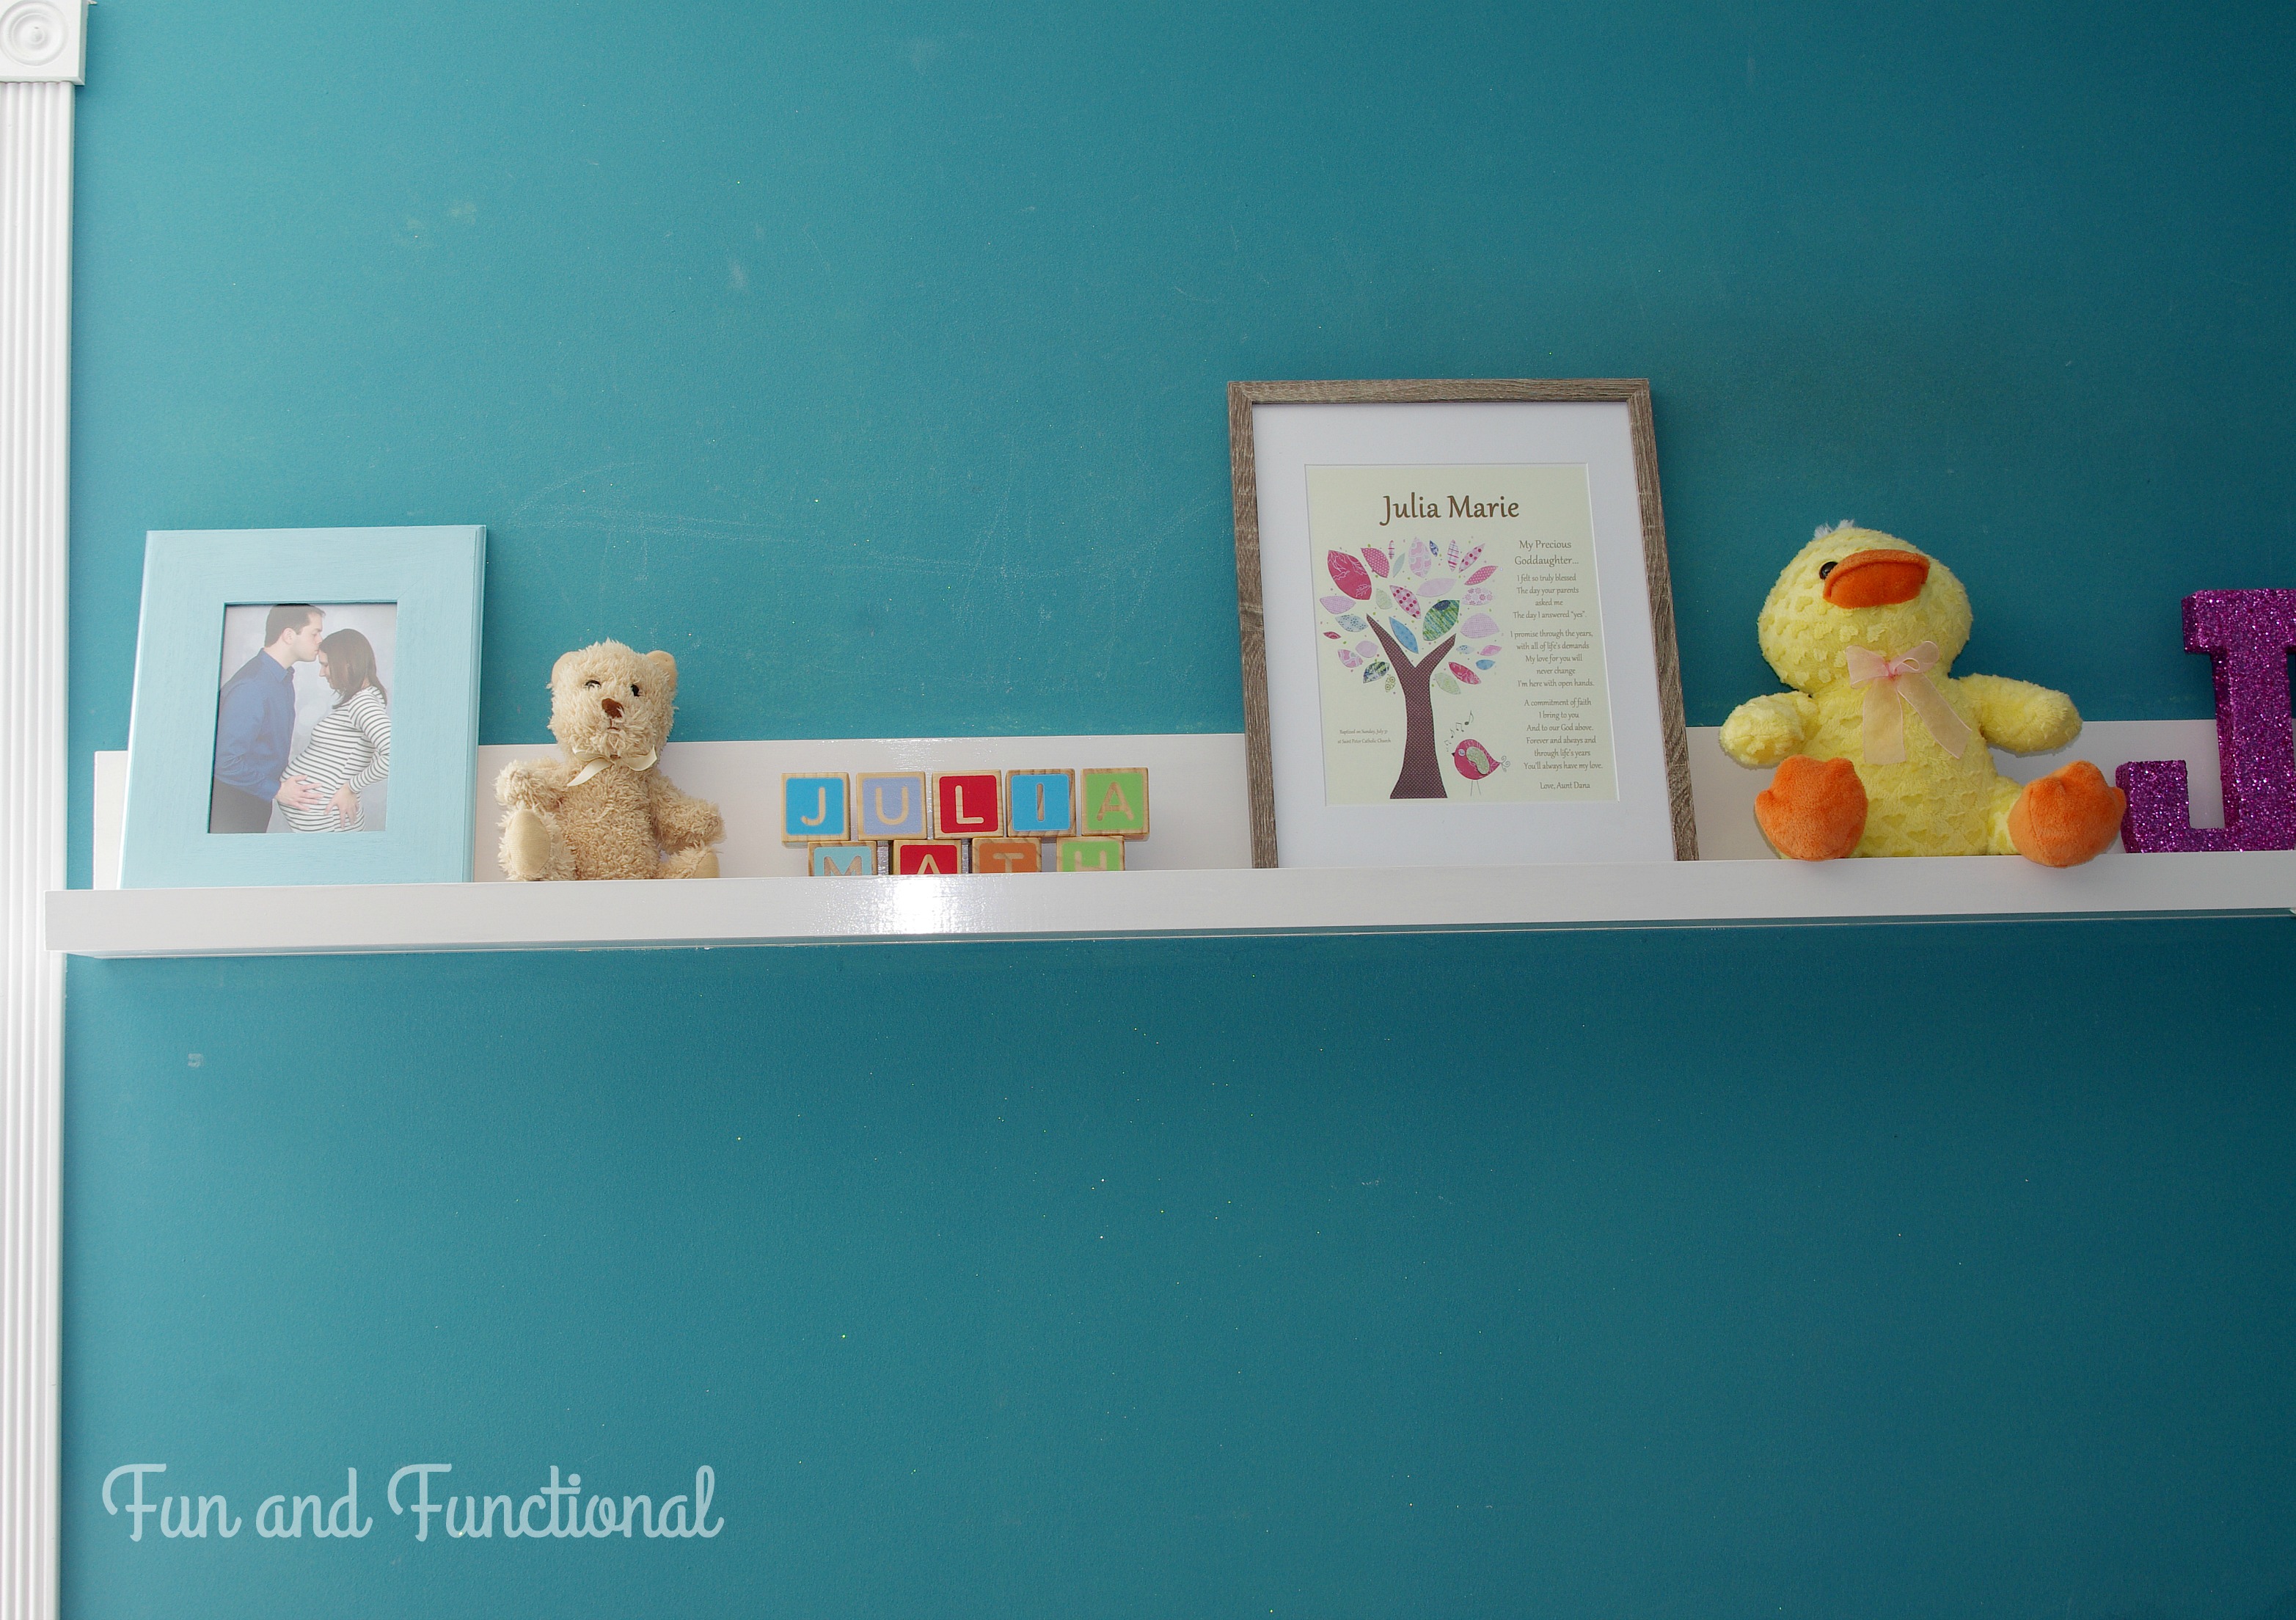
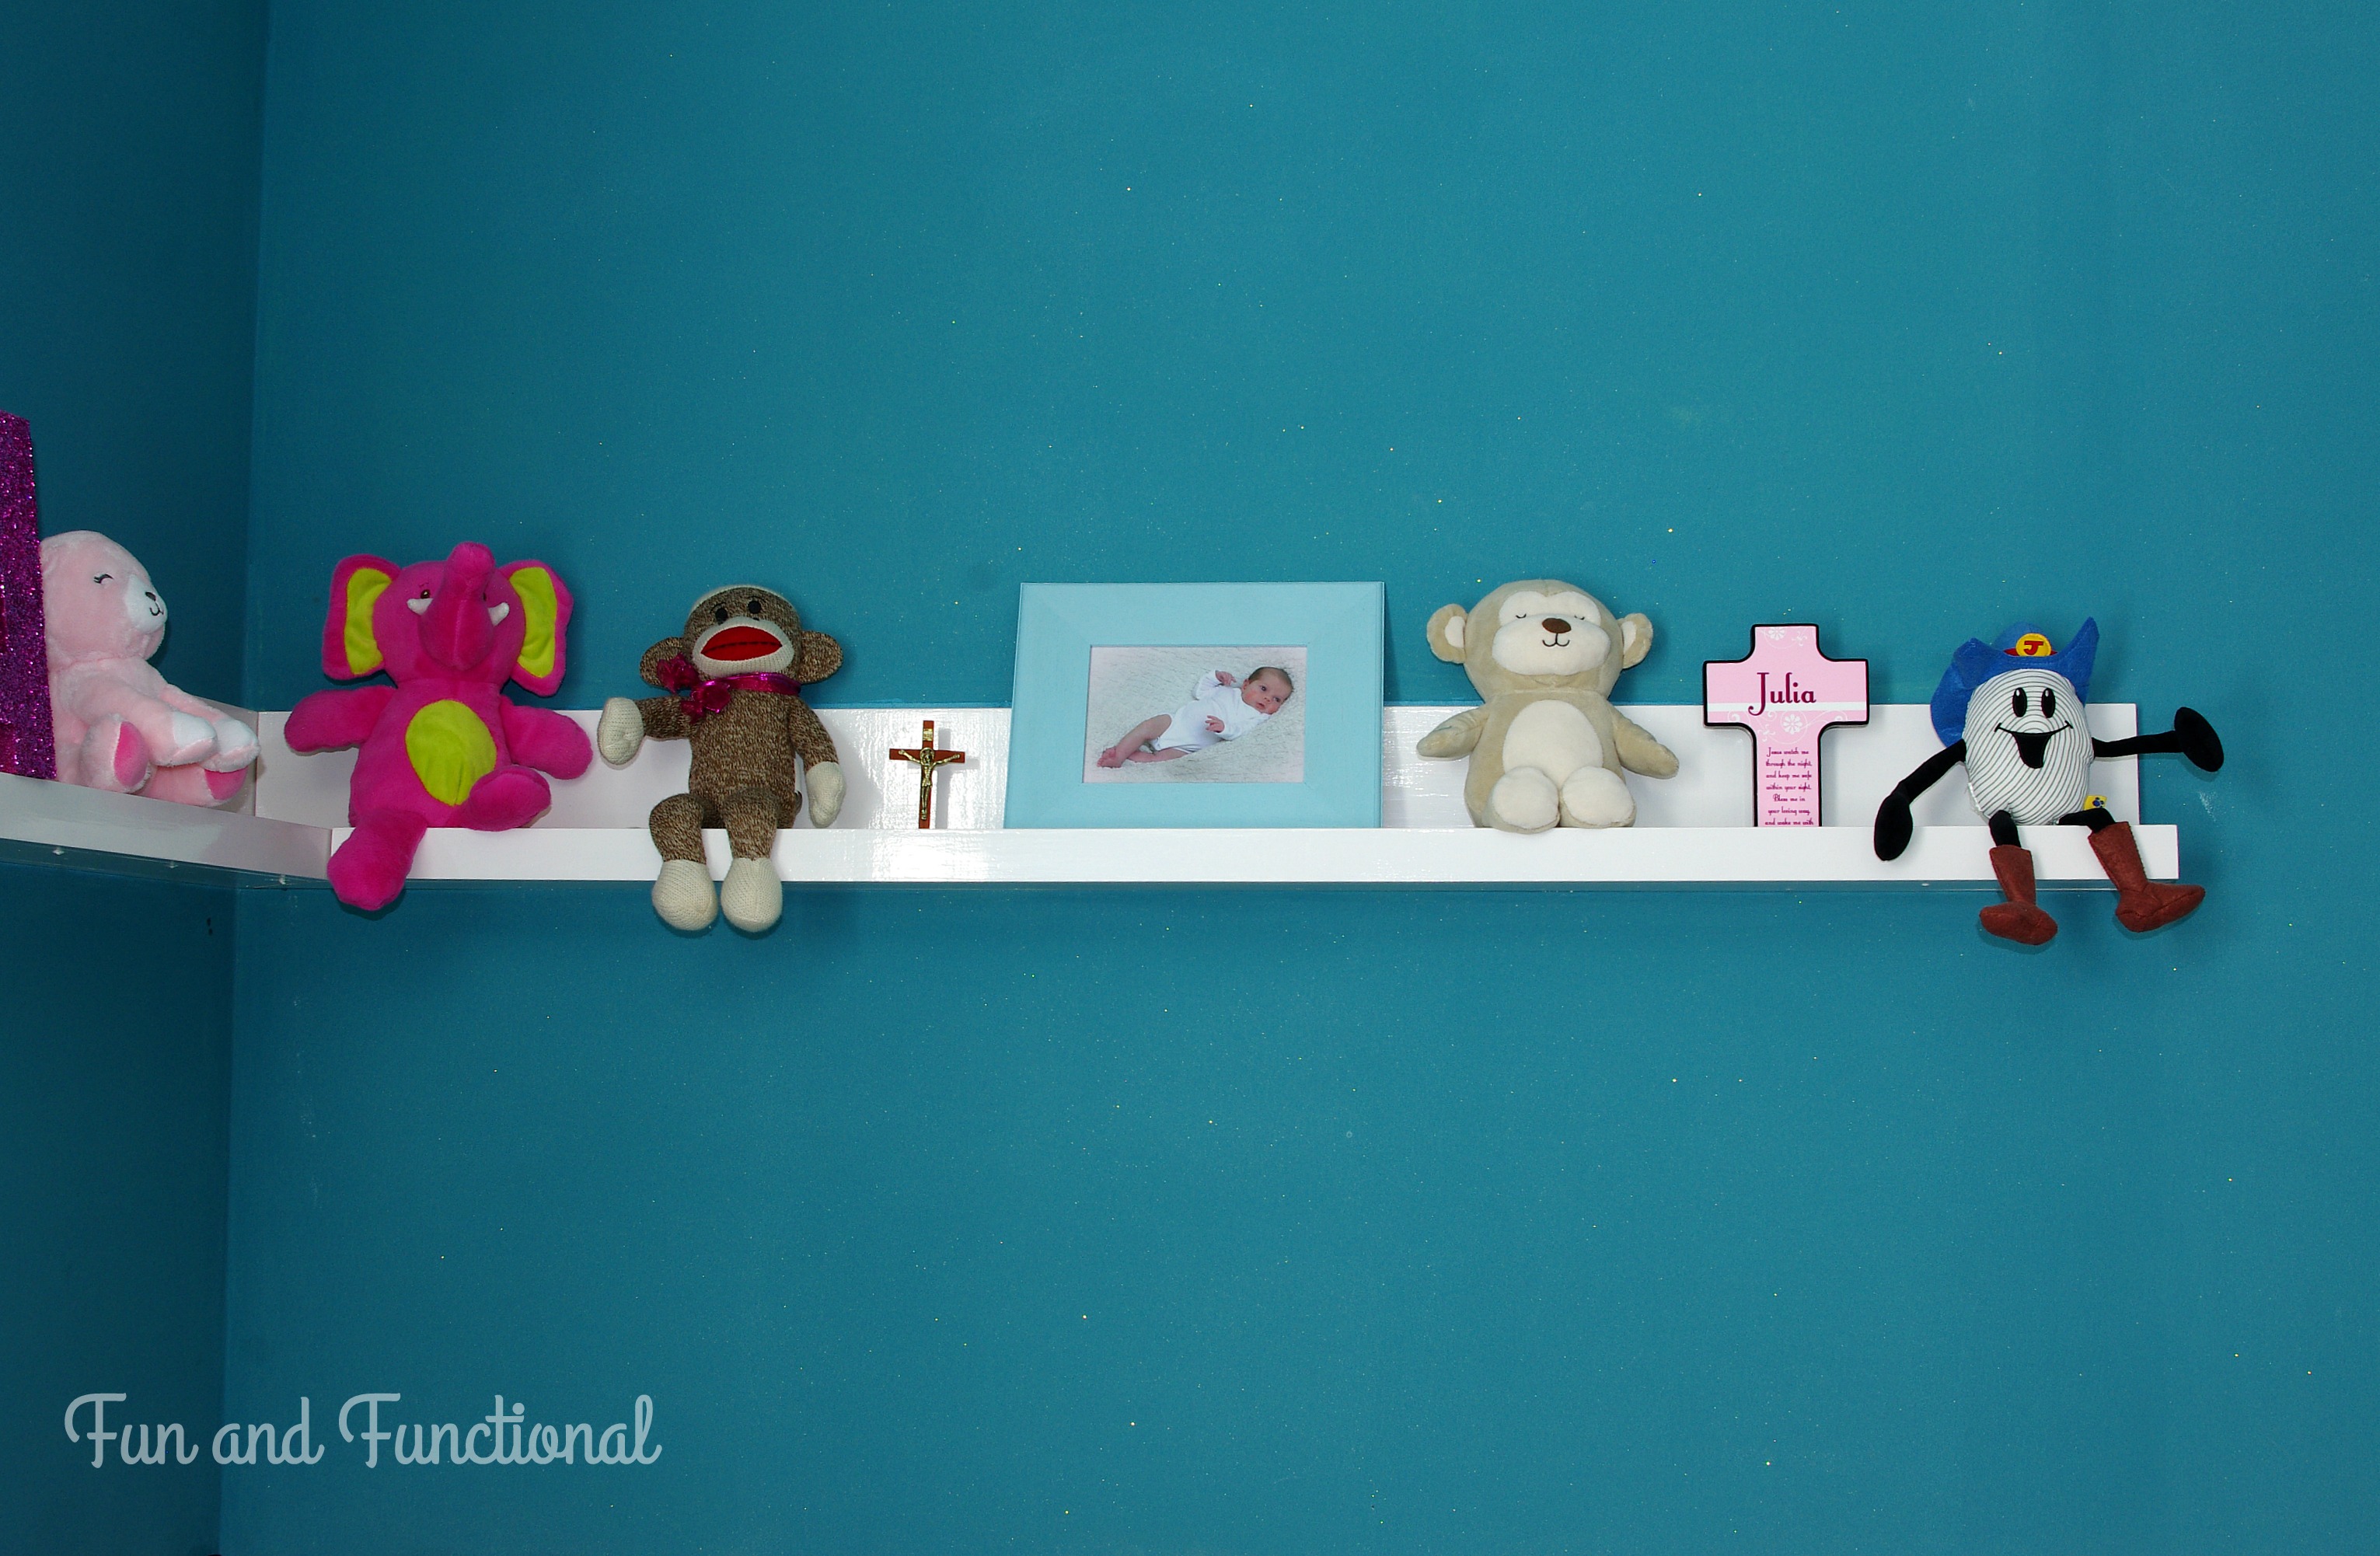
And finally, here are some pictures of the finished shelves…
Here they are with decorations…
Have you ever modified a building plan to fit your space? What kind of paint do you love to use?
Have a great day!
♥Jena♥
This post contains affiliate links. For more information, see my disclosures here.