The baseball nursery was empty the last time I showed a picture of it because I had just finished painting the walls. I had been thinking about what type of furniture I wanted in the room. After considering many different options, I decided to add a dresser to the room because it would provide a lot of storage and double as a changing table.
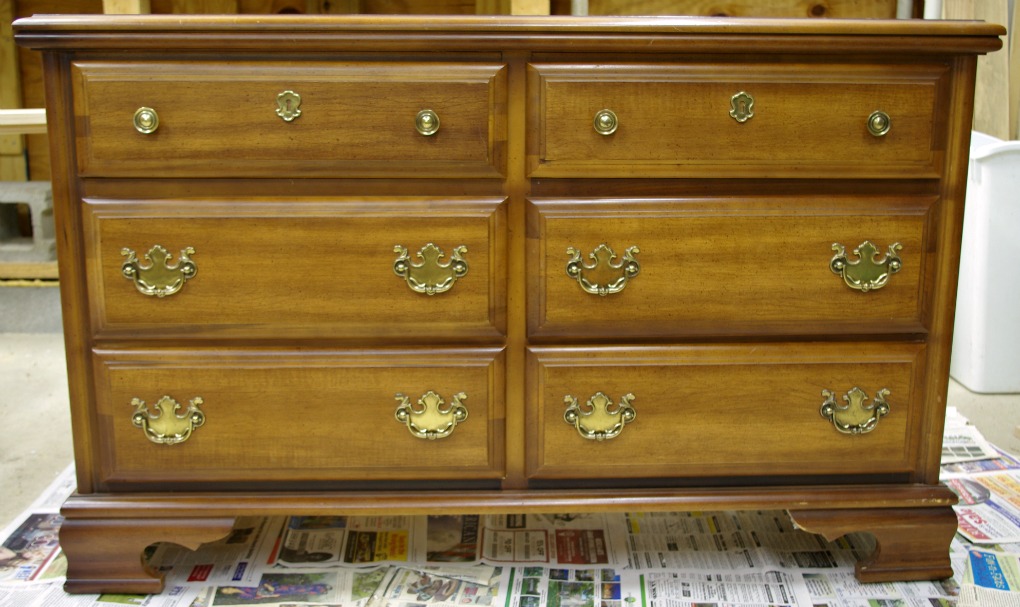
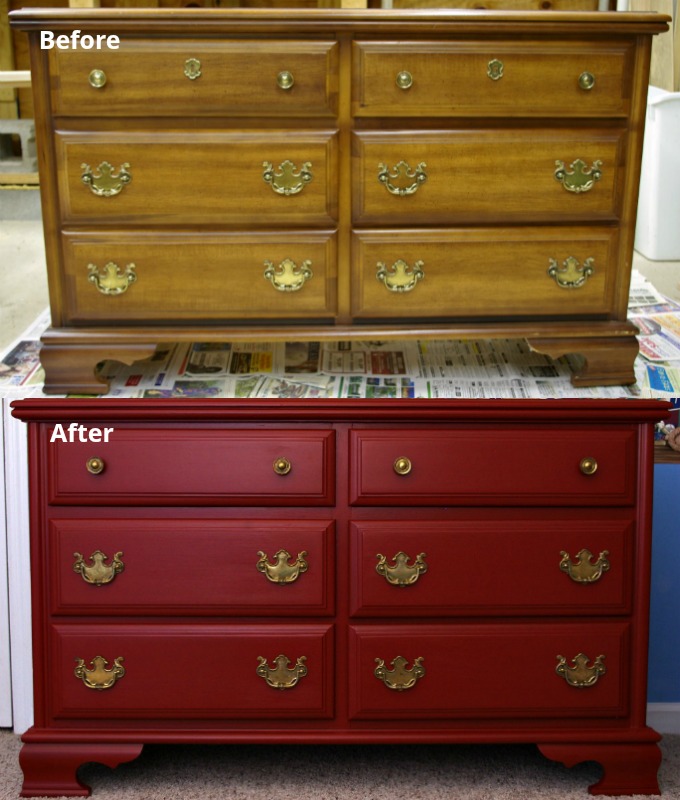
My parents happened to have a dresser that they weren’t using, so I ended up getting the dresser for free. Can’t beat that! It was in great shape, but I wasn’t crazy about the brown color. I wanted something that would stand out and be a little more fun. Since I have seen furniture makeovers all over, I figured it was a great opportunity to try it myself.
Here is what the dresser looked like before I painted it…
The supplies I used to paint the dresser are listed below.
- Screwdriver
- Rubbing Alcohol
- Scotch-Brite Pad
- Water
- Fine Sanding Pad (220 grit)
- Tack Cloth
- Painters Tape
- Stir Sticks
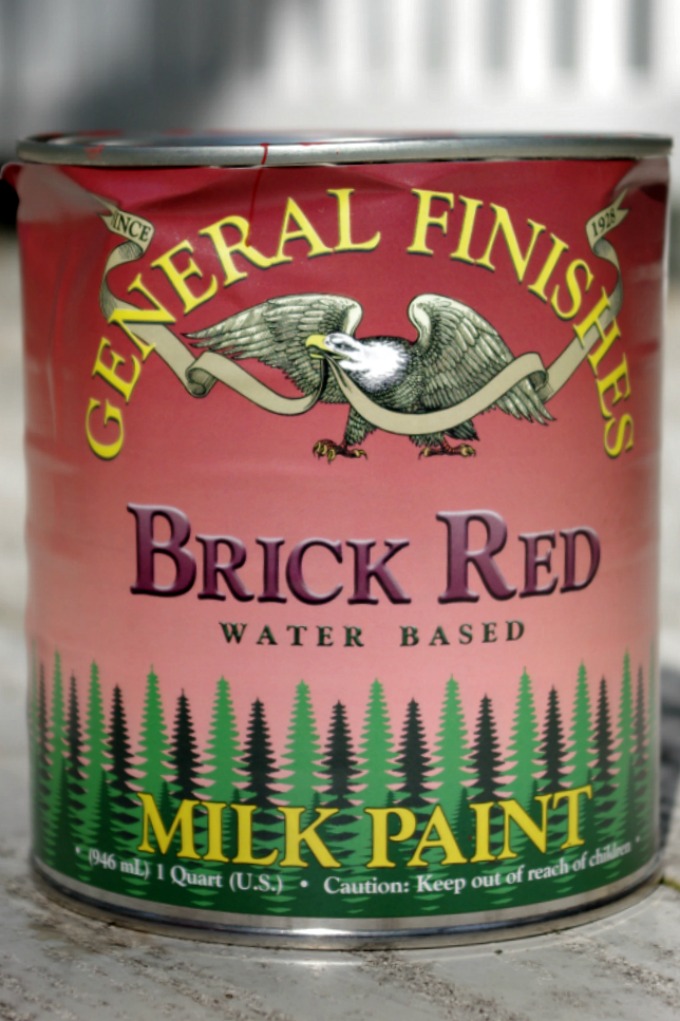
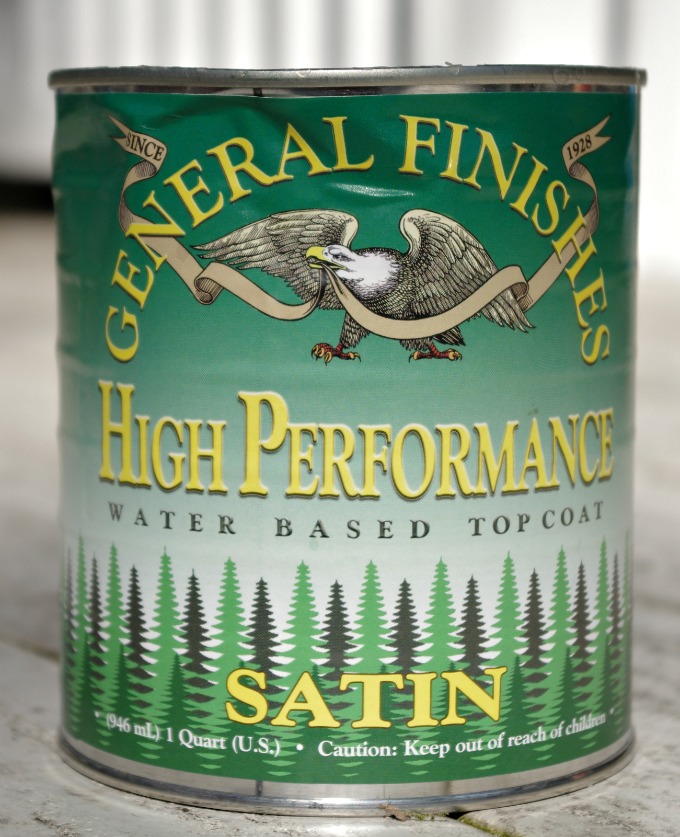
- Brick Red General Finishes Milk Paint
- Paint Brush
- General Finishes Satin Topcoat
One of the paint stores that I live nearby had a furniture painting class that I attended a year or two ago to show how to use the General Finishes paint. Since I had notes from that class, I basically just followed the instructions they provided.
Here are the steps I followed…
After using the screwdriver to remove all of the hardware, the first thing I did was wipe all of the surfaces clean with some rubbing alcohol and a Scotch-Brite pad to get rid of all of dirt and grime. When that was dry, I also wiped the dresser down with some water and let that dry.
The next step was to lightly sand the dresser with fine sandpaper. I used a 220 grit sanding block. I have heard that it isn’t necessary to sand when using General Finishes milk paint, but I did a quick, light sanding on the surfaces I was going to paint just in case. After sanding, I vacuumed up the sawdust using my shop-vac and then wiped the dresser with a tack cloth to make sure all of the dust was removed.
The dresser and drawers were almost ready to paint. Before I started painting, I used painters tape to tape the drawers because I only wanted to paint the front of the drawers.
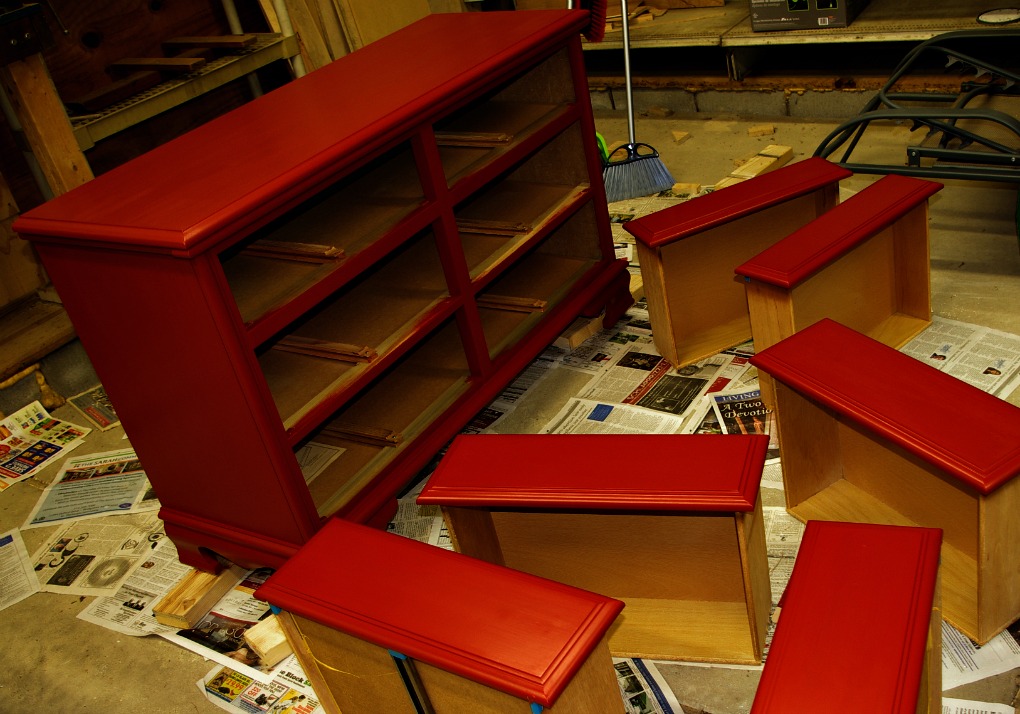
It was finally time to paint! I decided on Brick Red for the color, so I stirred my paint and then applied the first coat to the drawer fronts and dresser. I also painted a little bit inside of the dresser where the drawers go just in case I would be able to see that when opening and closing the drawers. You can see what I am talking about in the picture below.
After waiting about 3 hours for the first coat to dry, I applied the second red coat. Since I was using a darker color, I only needed two coats. I would have added another coat if I was using a lighter color.
Since the dresser is going to be in a nursery and eventually a toddler’s room, I added a few topcoats to protect it. I ended up applying 3 coats of the General Finishes satin topcoat. Again, I waited about 3 hours between coats to make sure everything was dry.
While the paint on the dresser was curing, I decided to clean the hardware so it would be nice and shiny when it was time to put it back on the dresser.
After googling the best way to do it, I ended up soaking the hardware overnight in a bowl of hot water mixed with a little bit of dishwashing liquid and a half cup of white vinegar. After soaking, I scrubbed it with a toothbrush, rinsed it with more water, and set it out to dry.
Note: Be sure to rinse the hardware with a lot of water after it has been soaking in the mixture. I must not have rinsed it well enough because there was some white residue left on it when it dried. It wasn’t a big deal because I just rinsed if off with some more hot water, but this might save you some time.
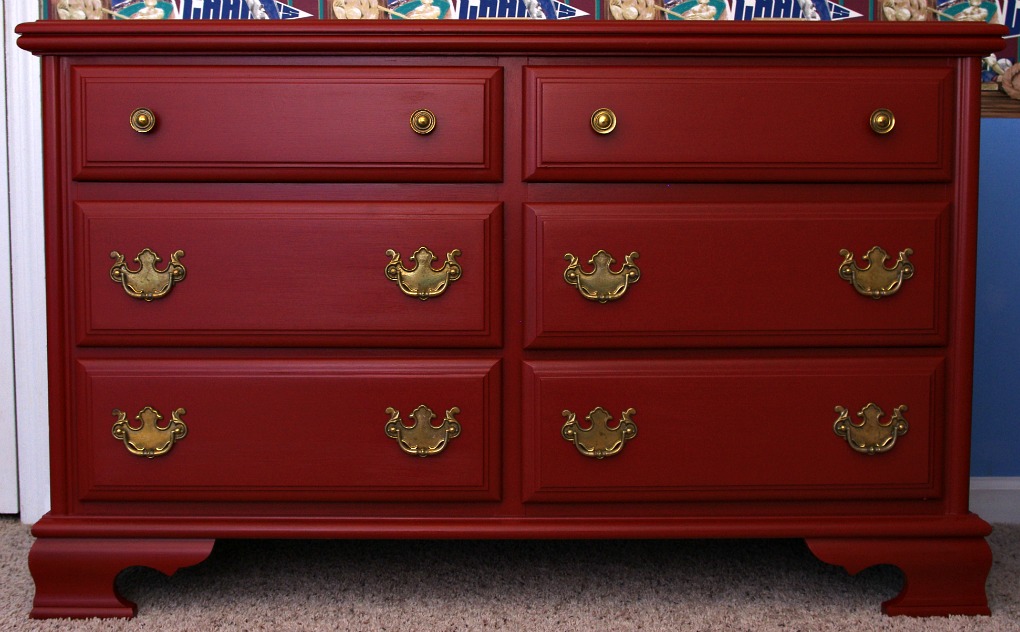
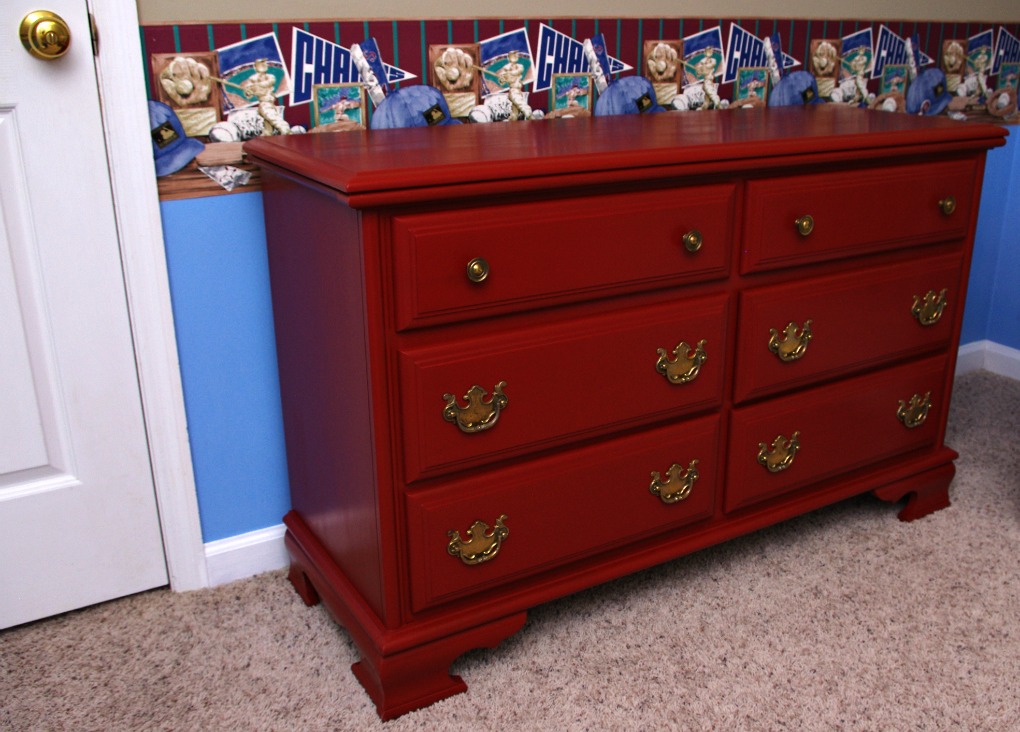
After letting the dresser sit in the shed for about three weeks, we finally moved it into the nursery and put the hardware back on. What do you think?
I like the pop of red it adds to the room. It definitely stands out against the blue and brown walls!
Have a great day!
♥Jena♥
P.S. – If you want to follow along with the nursery progress, you can see how I painted the room here.
This post contains affiliate links. For more information, see my disclosures here.