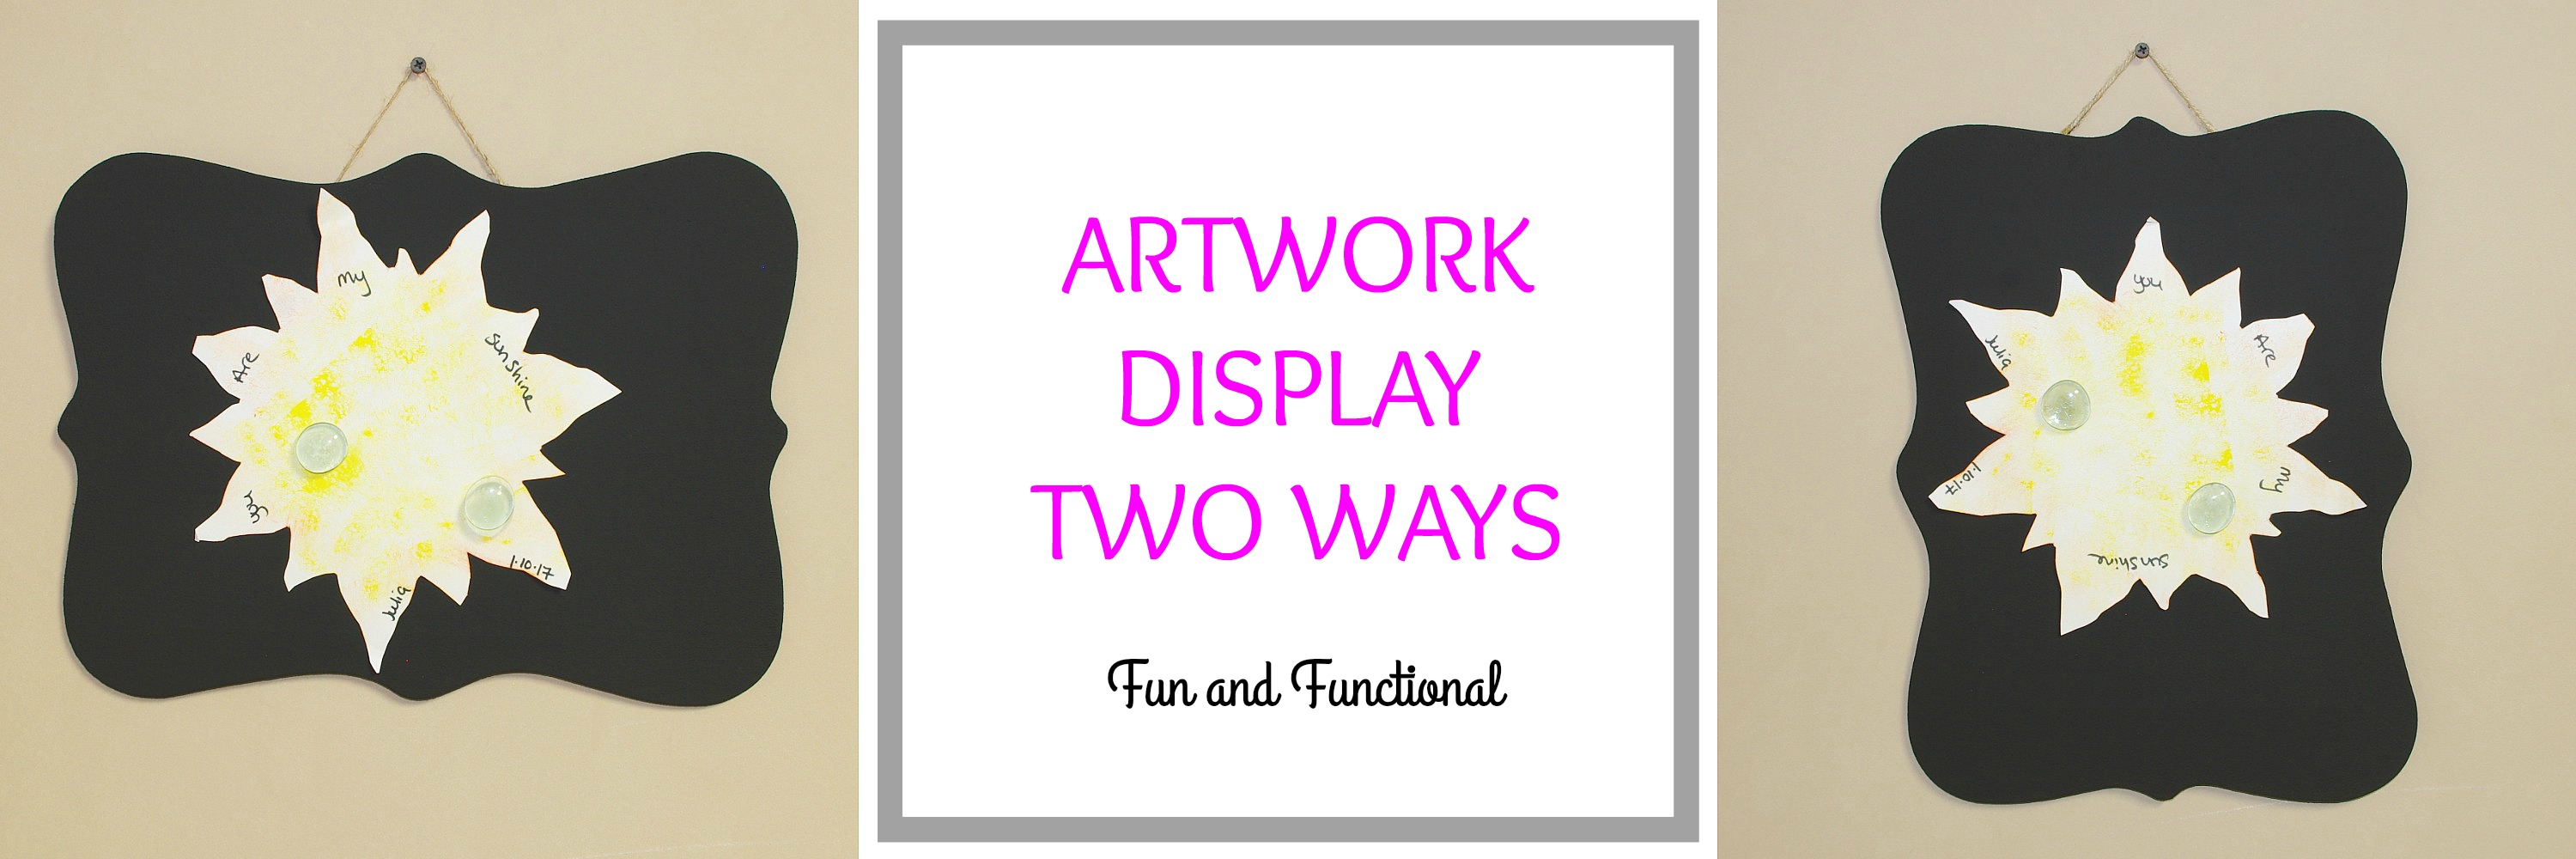
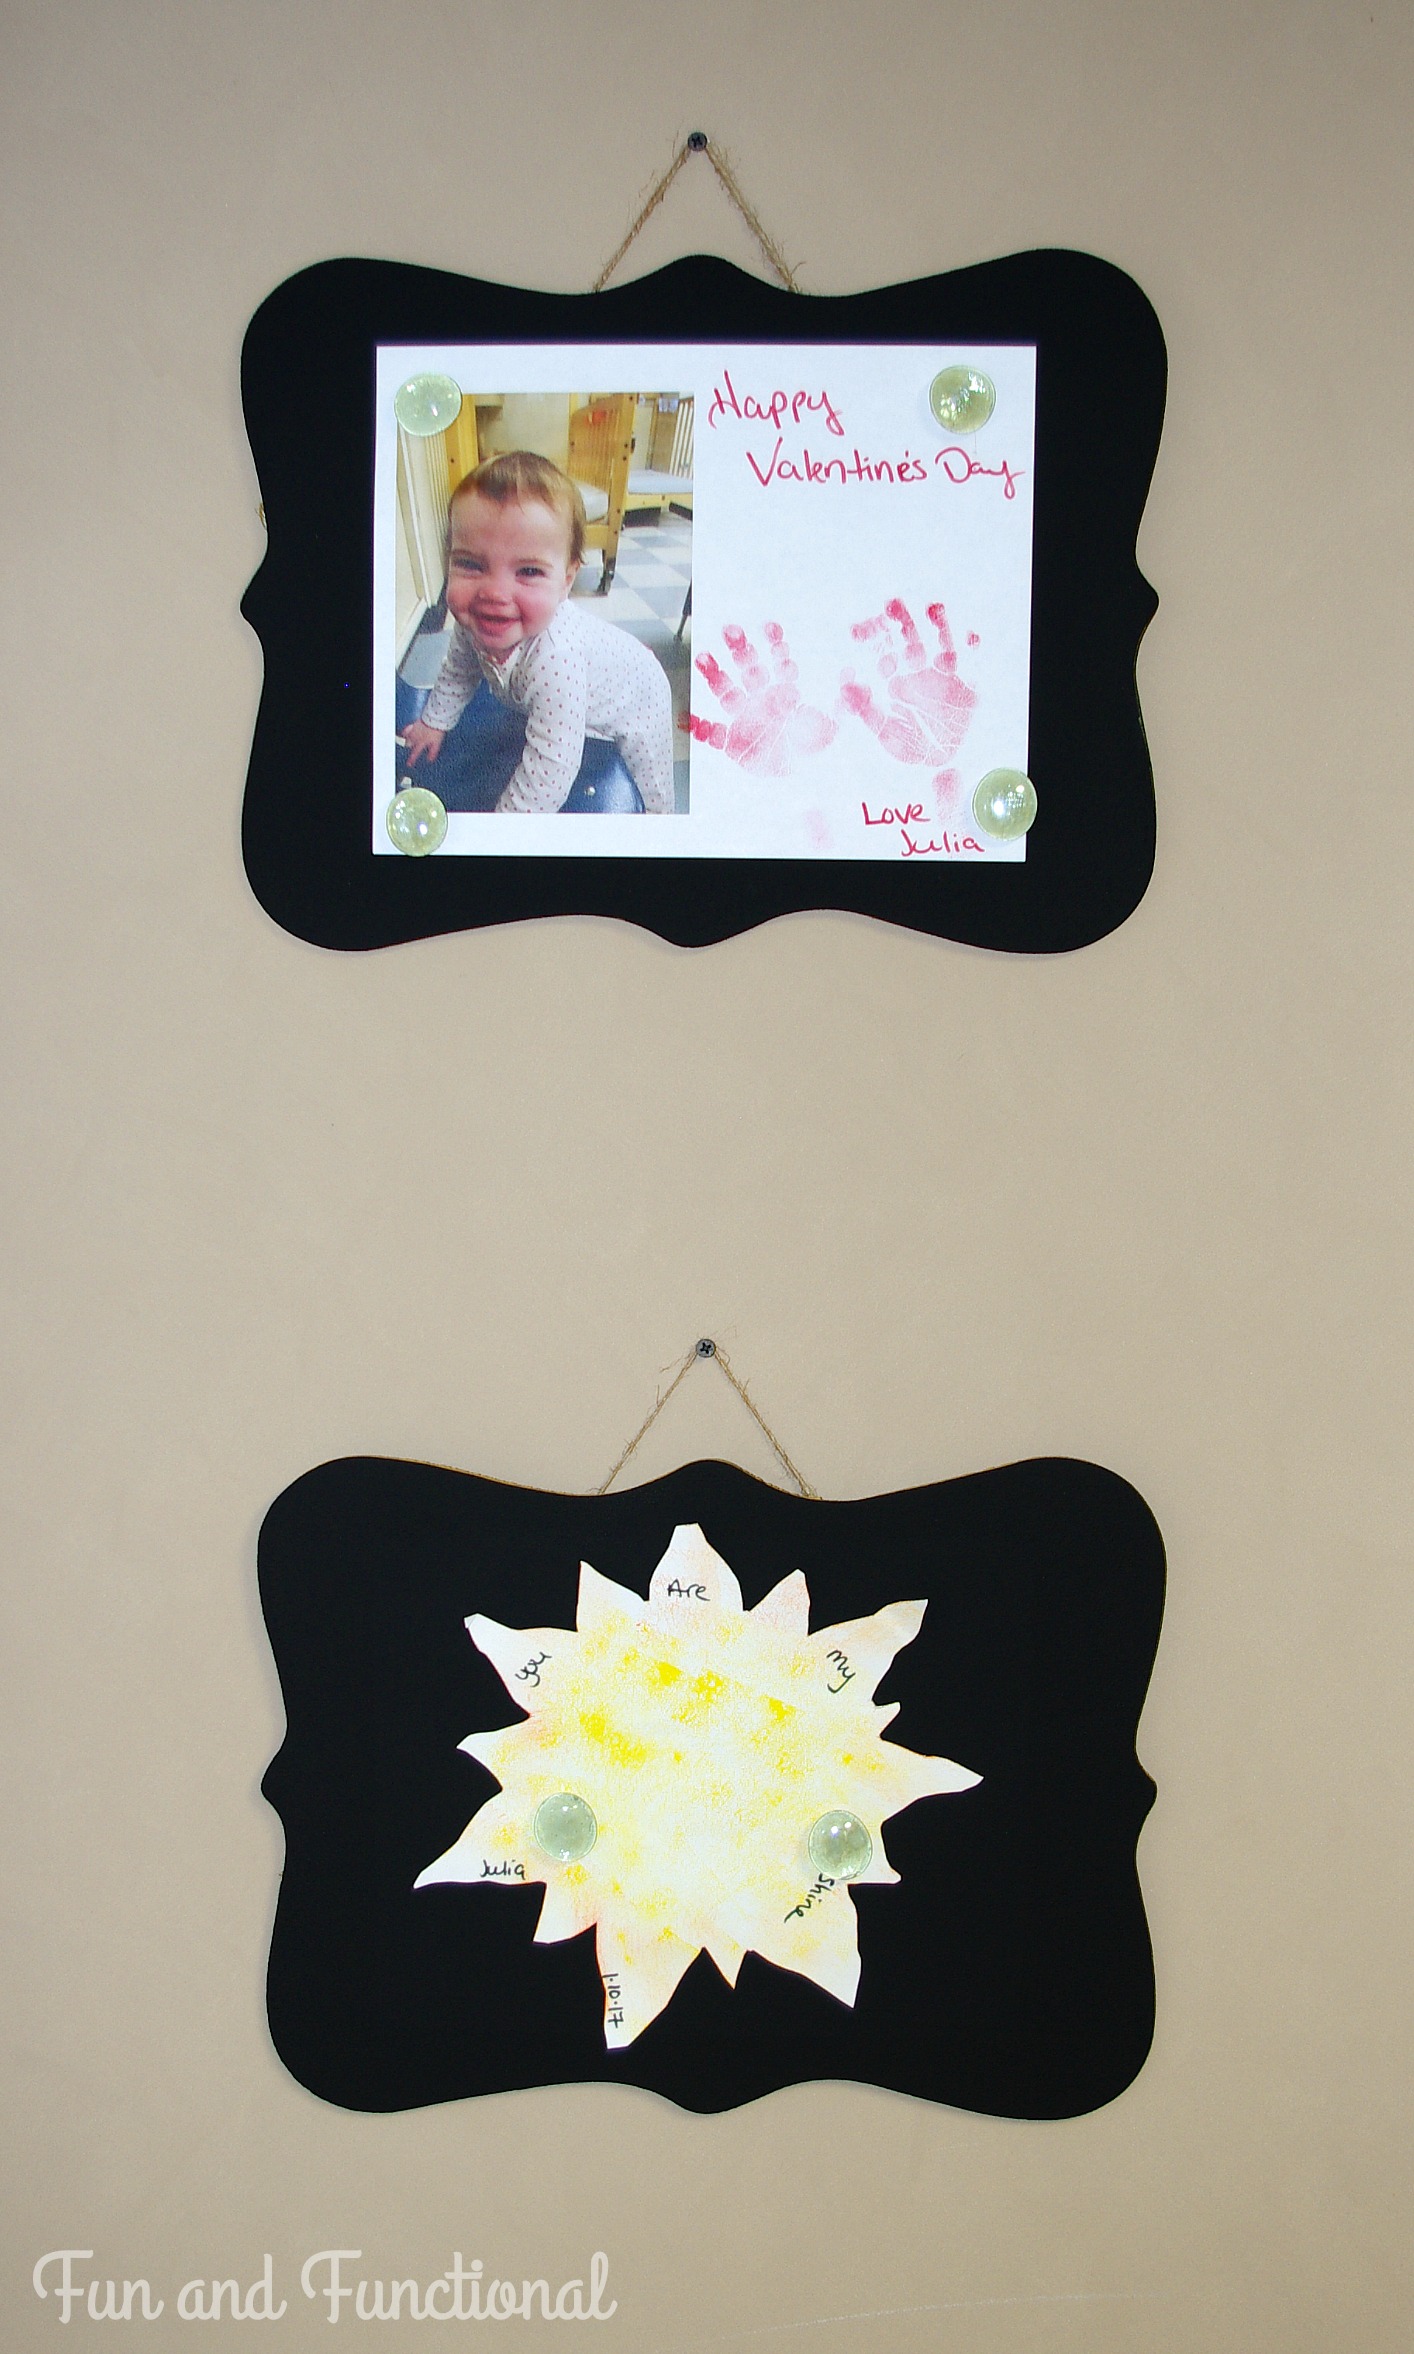
My baby girl isn’t even one yet, but she has been bringing home a lot of art that she has made at daycare. I decided to make an artwork display to show off her masterpieces.
I didn’t know exactly what I wanted to make at first. All I knew was that I wanted it to be able to work with different sized papers and be easy to update with new artwork. I also wanted to be able to turn it sideways if needed since Julia brings home art in a variety of shapes and sizes.
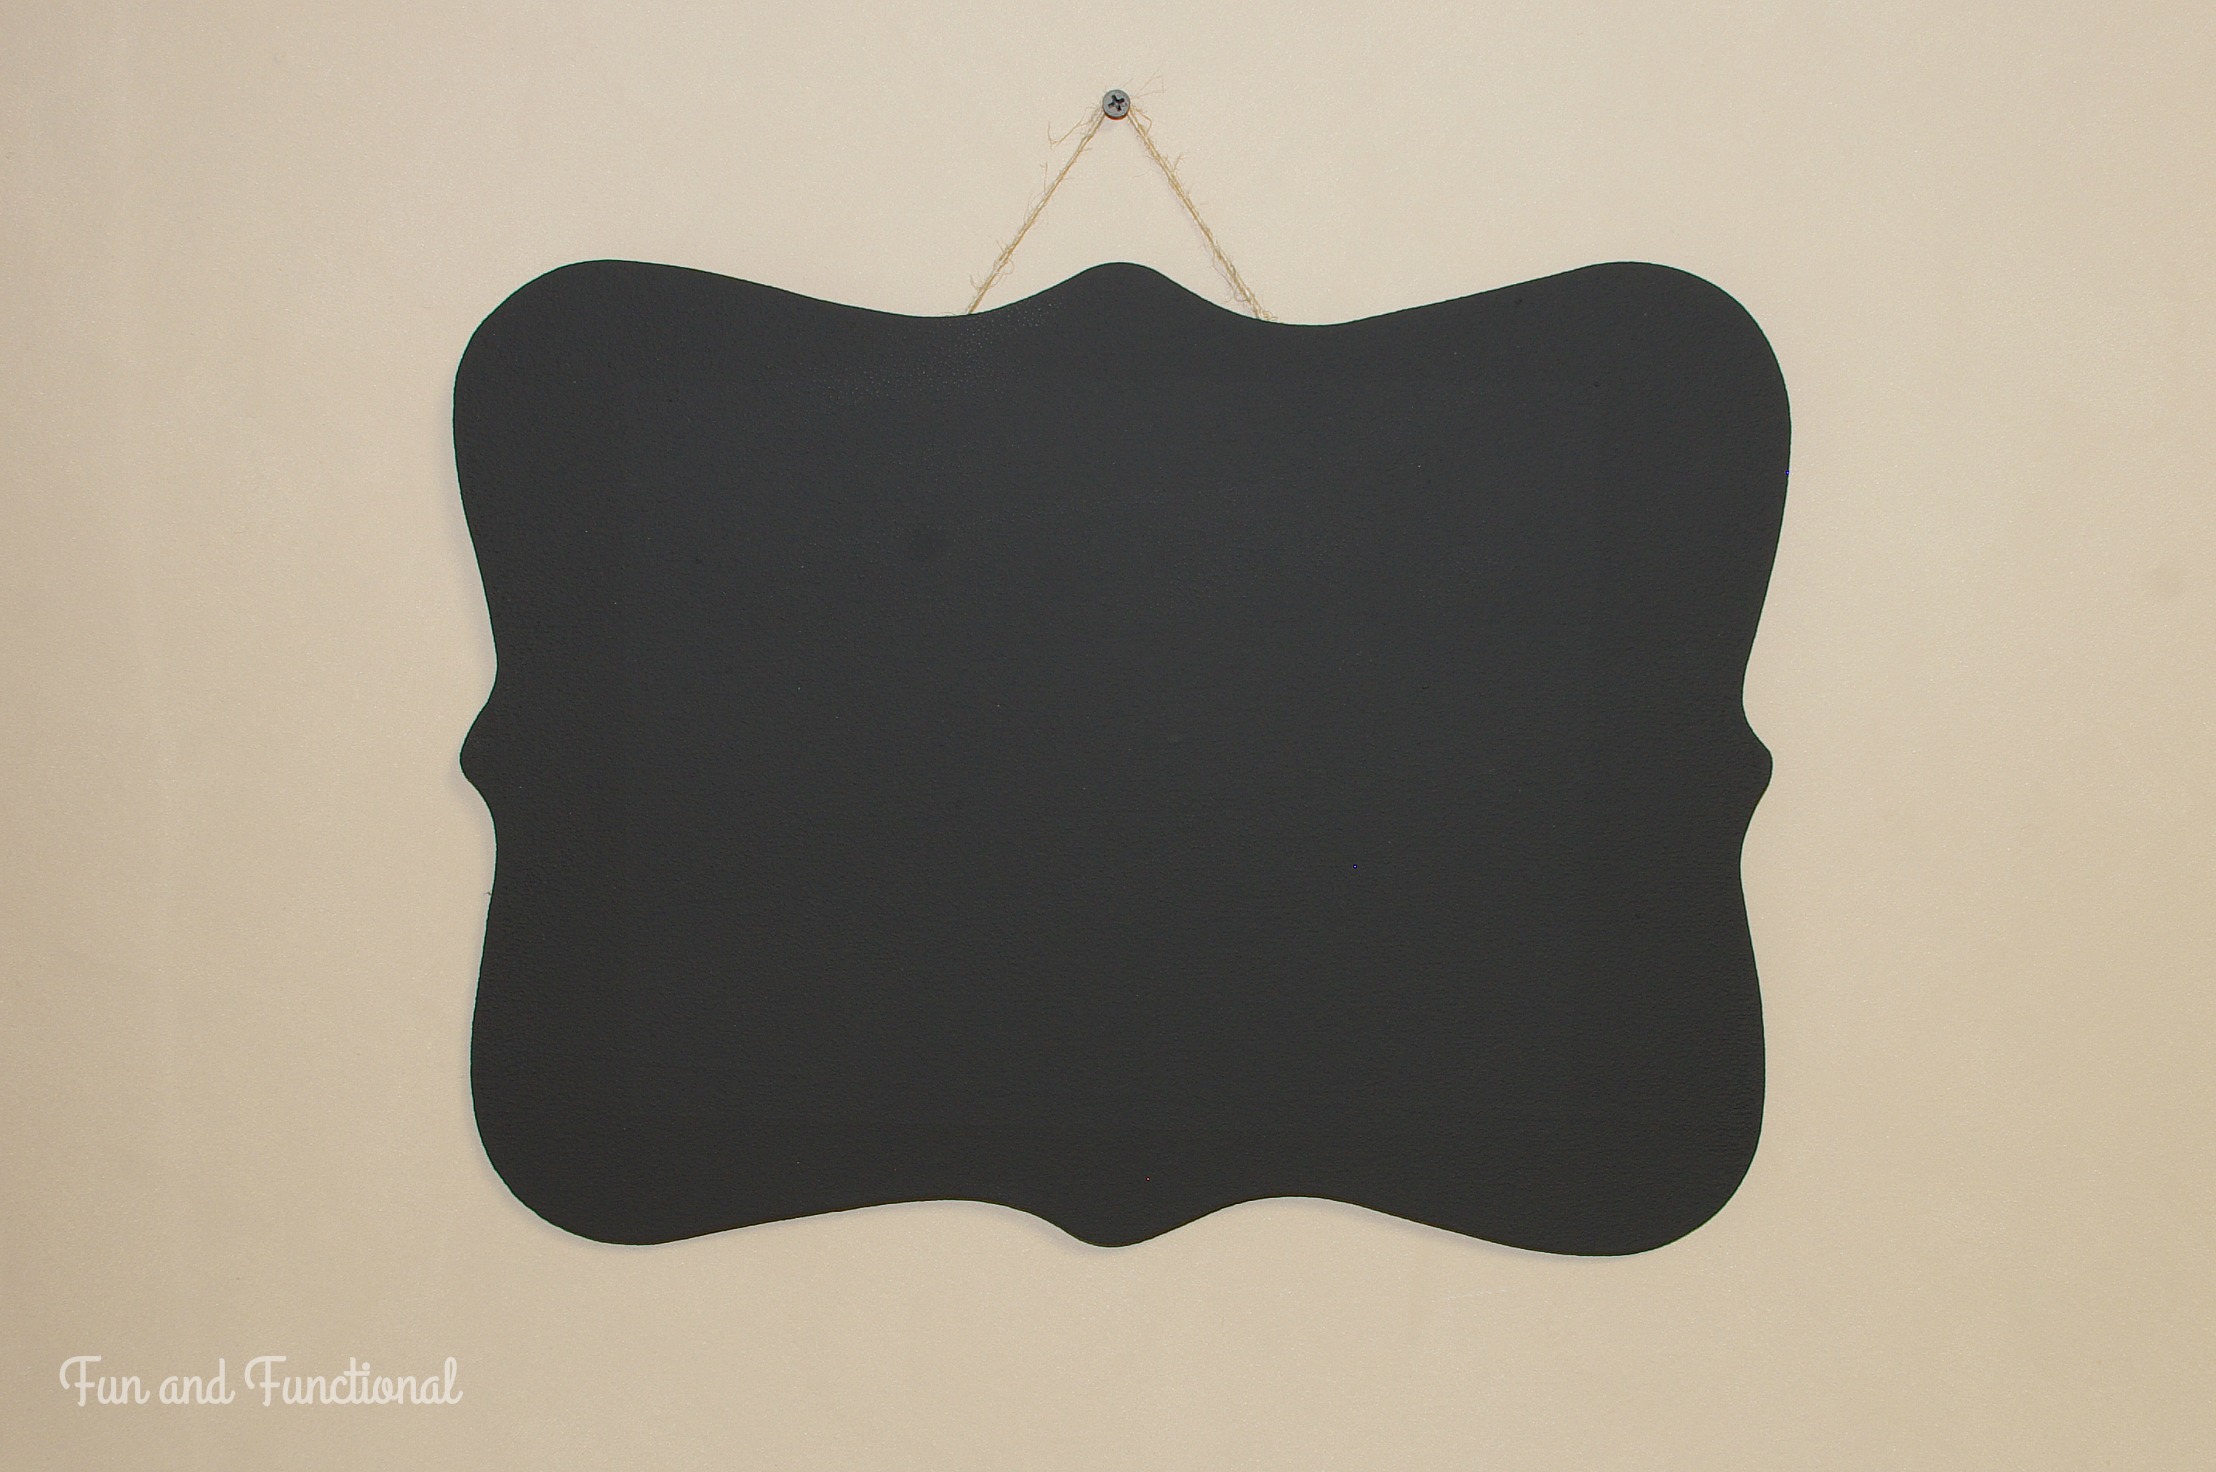
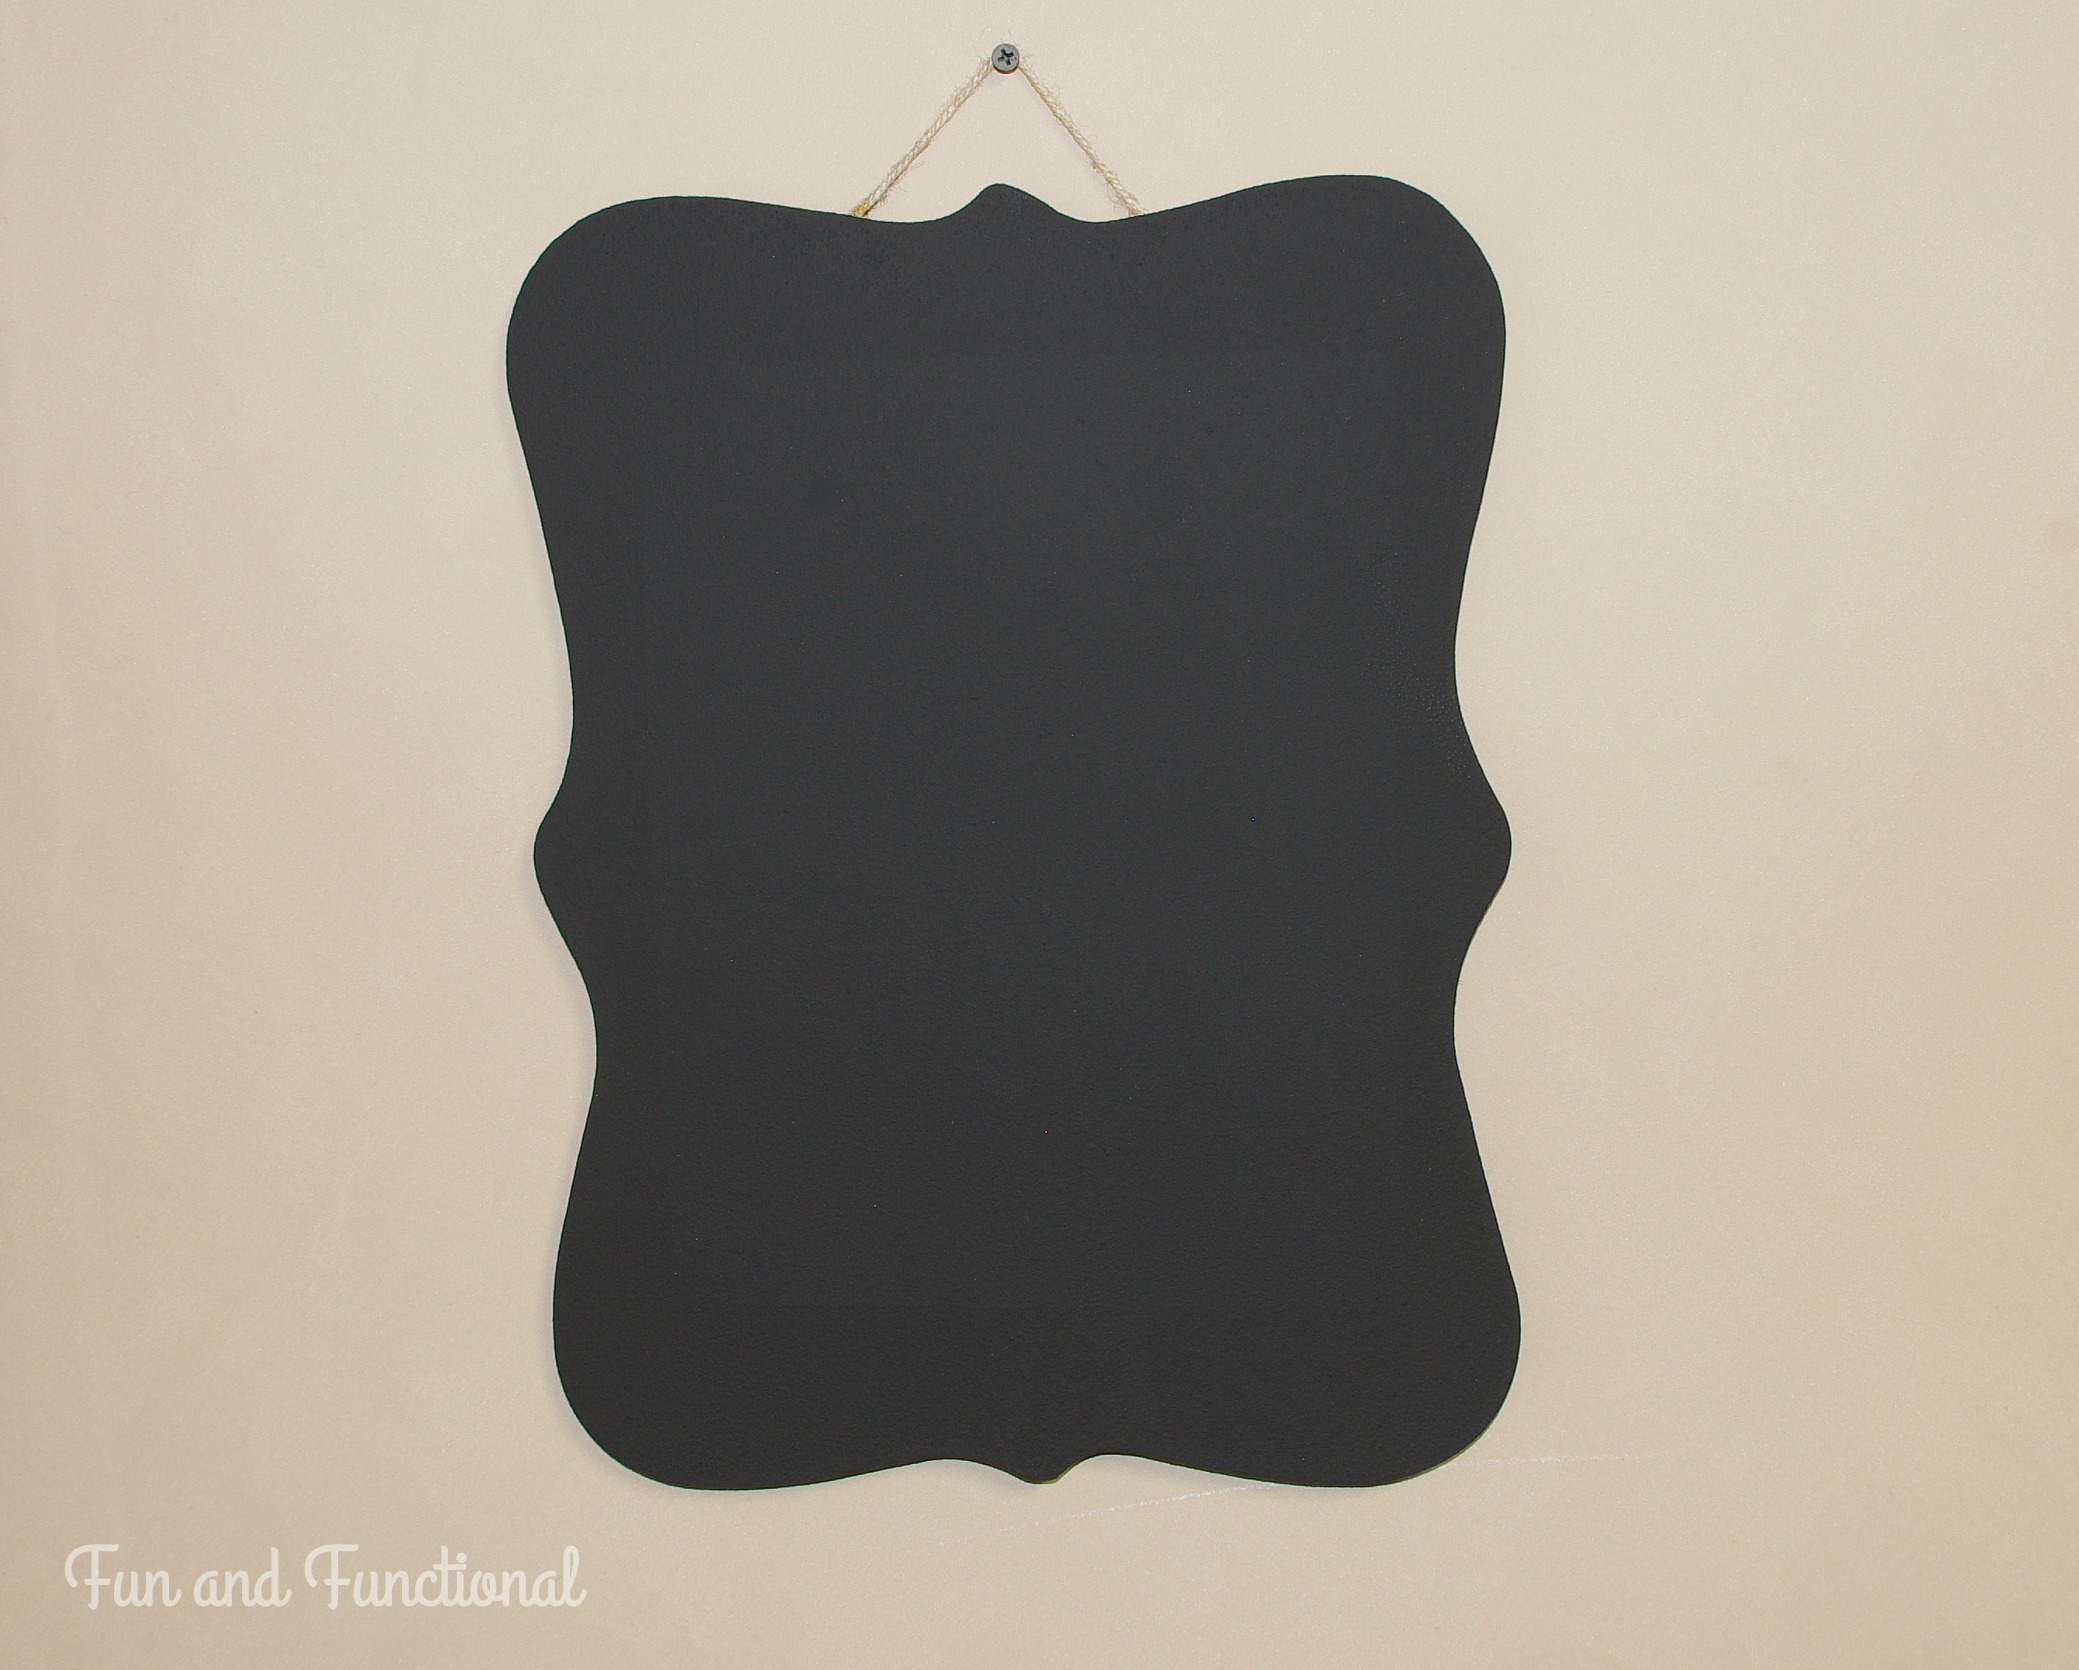
Then one day as I was walking around Michael’s for a different project, I found two wooden signs that I thought would be perfect for displaying art. These signs were made to be hung with a portrait orientation, but I thought I would be able to modify them to work with a landscape orientation too.
All I had left to figure out was how I would attach the artwork to the display. I thought about using clips or clothespins, but then where would I attach those so they could be used with all types of artwork? It finally hit me…magnetic paint!!
Supplies & Costs for This Project:
- 2 Wooden Signs From Michael’s ($4 x 2)
- Thin Wood Trim
- Wood Glue
- Staple Gun
- Twine
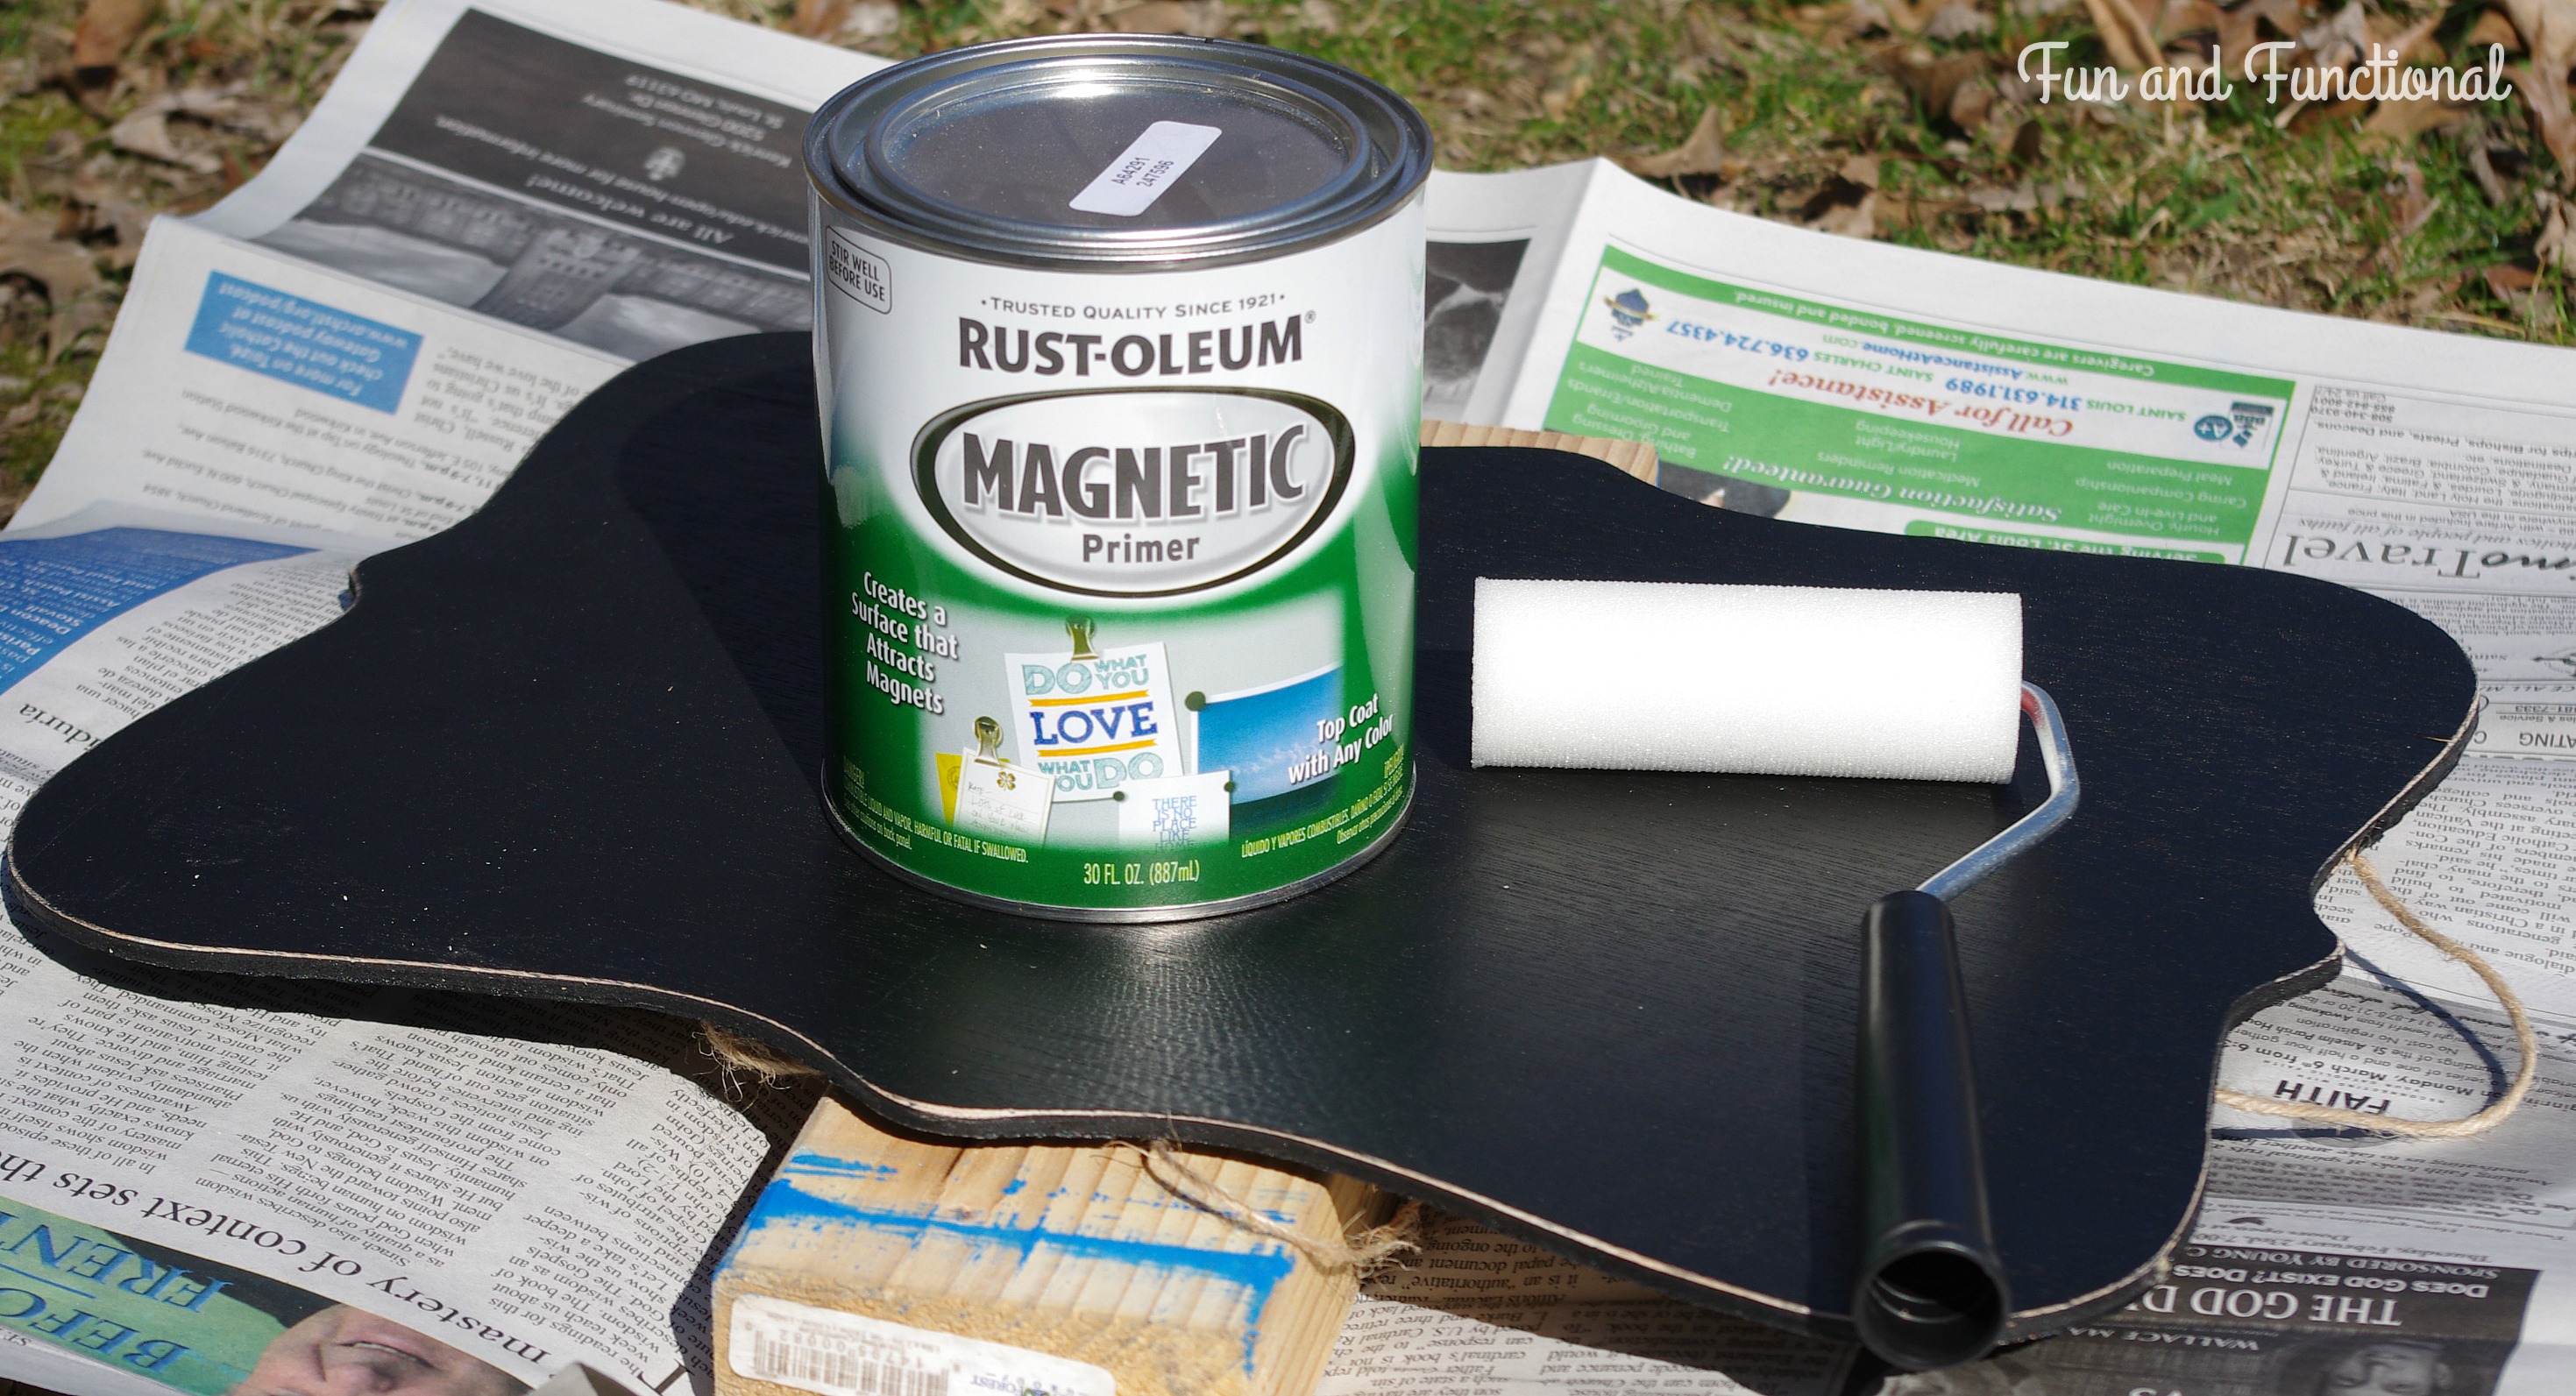
- Rust-Oleum Magnetic Primer
($20)
- Foam Roller ($1)
The supplies listed above without a price next to them are items I already owned. The total cost for this project was $29 for two displays, which was mostly for the paint. I still have paint leftover, so I can use it again for another project.
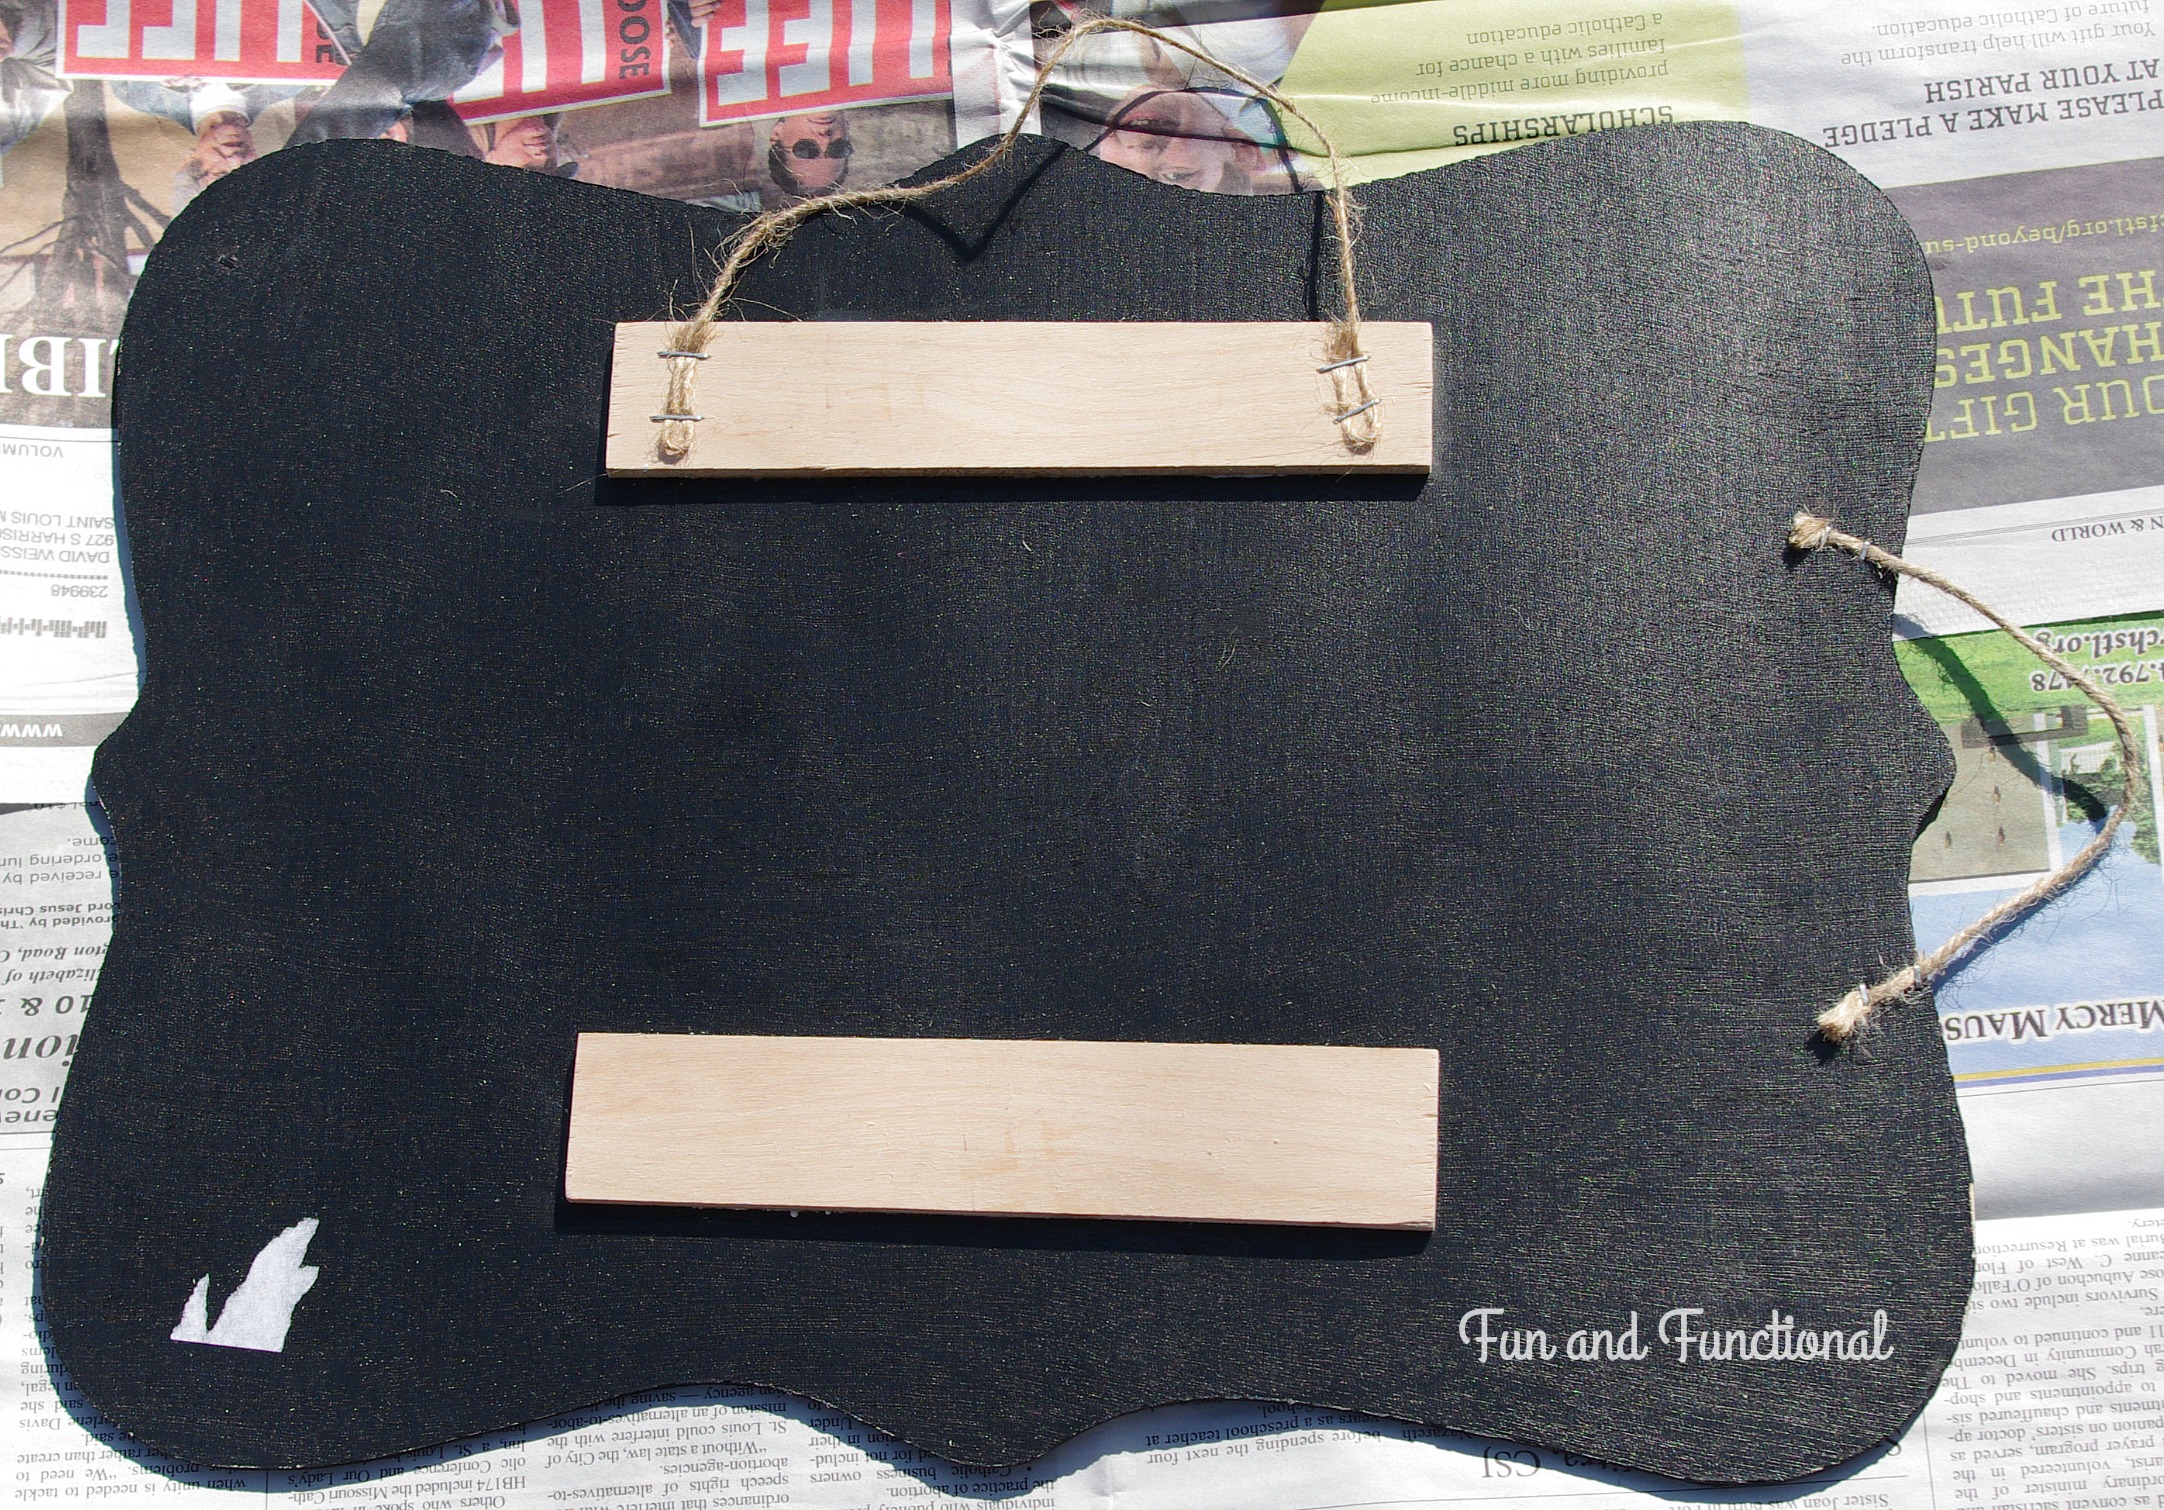
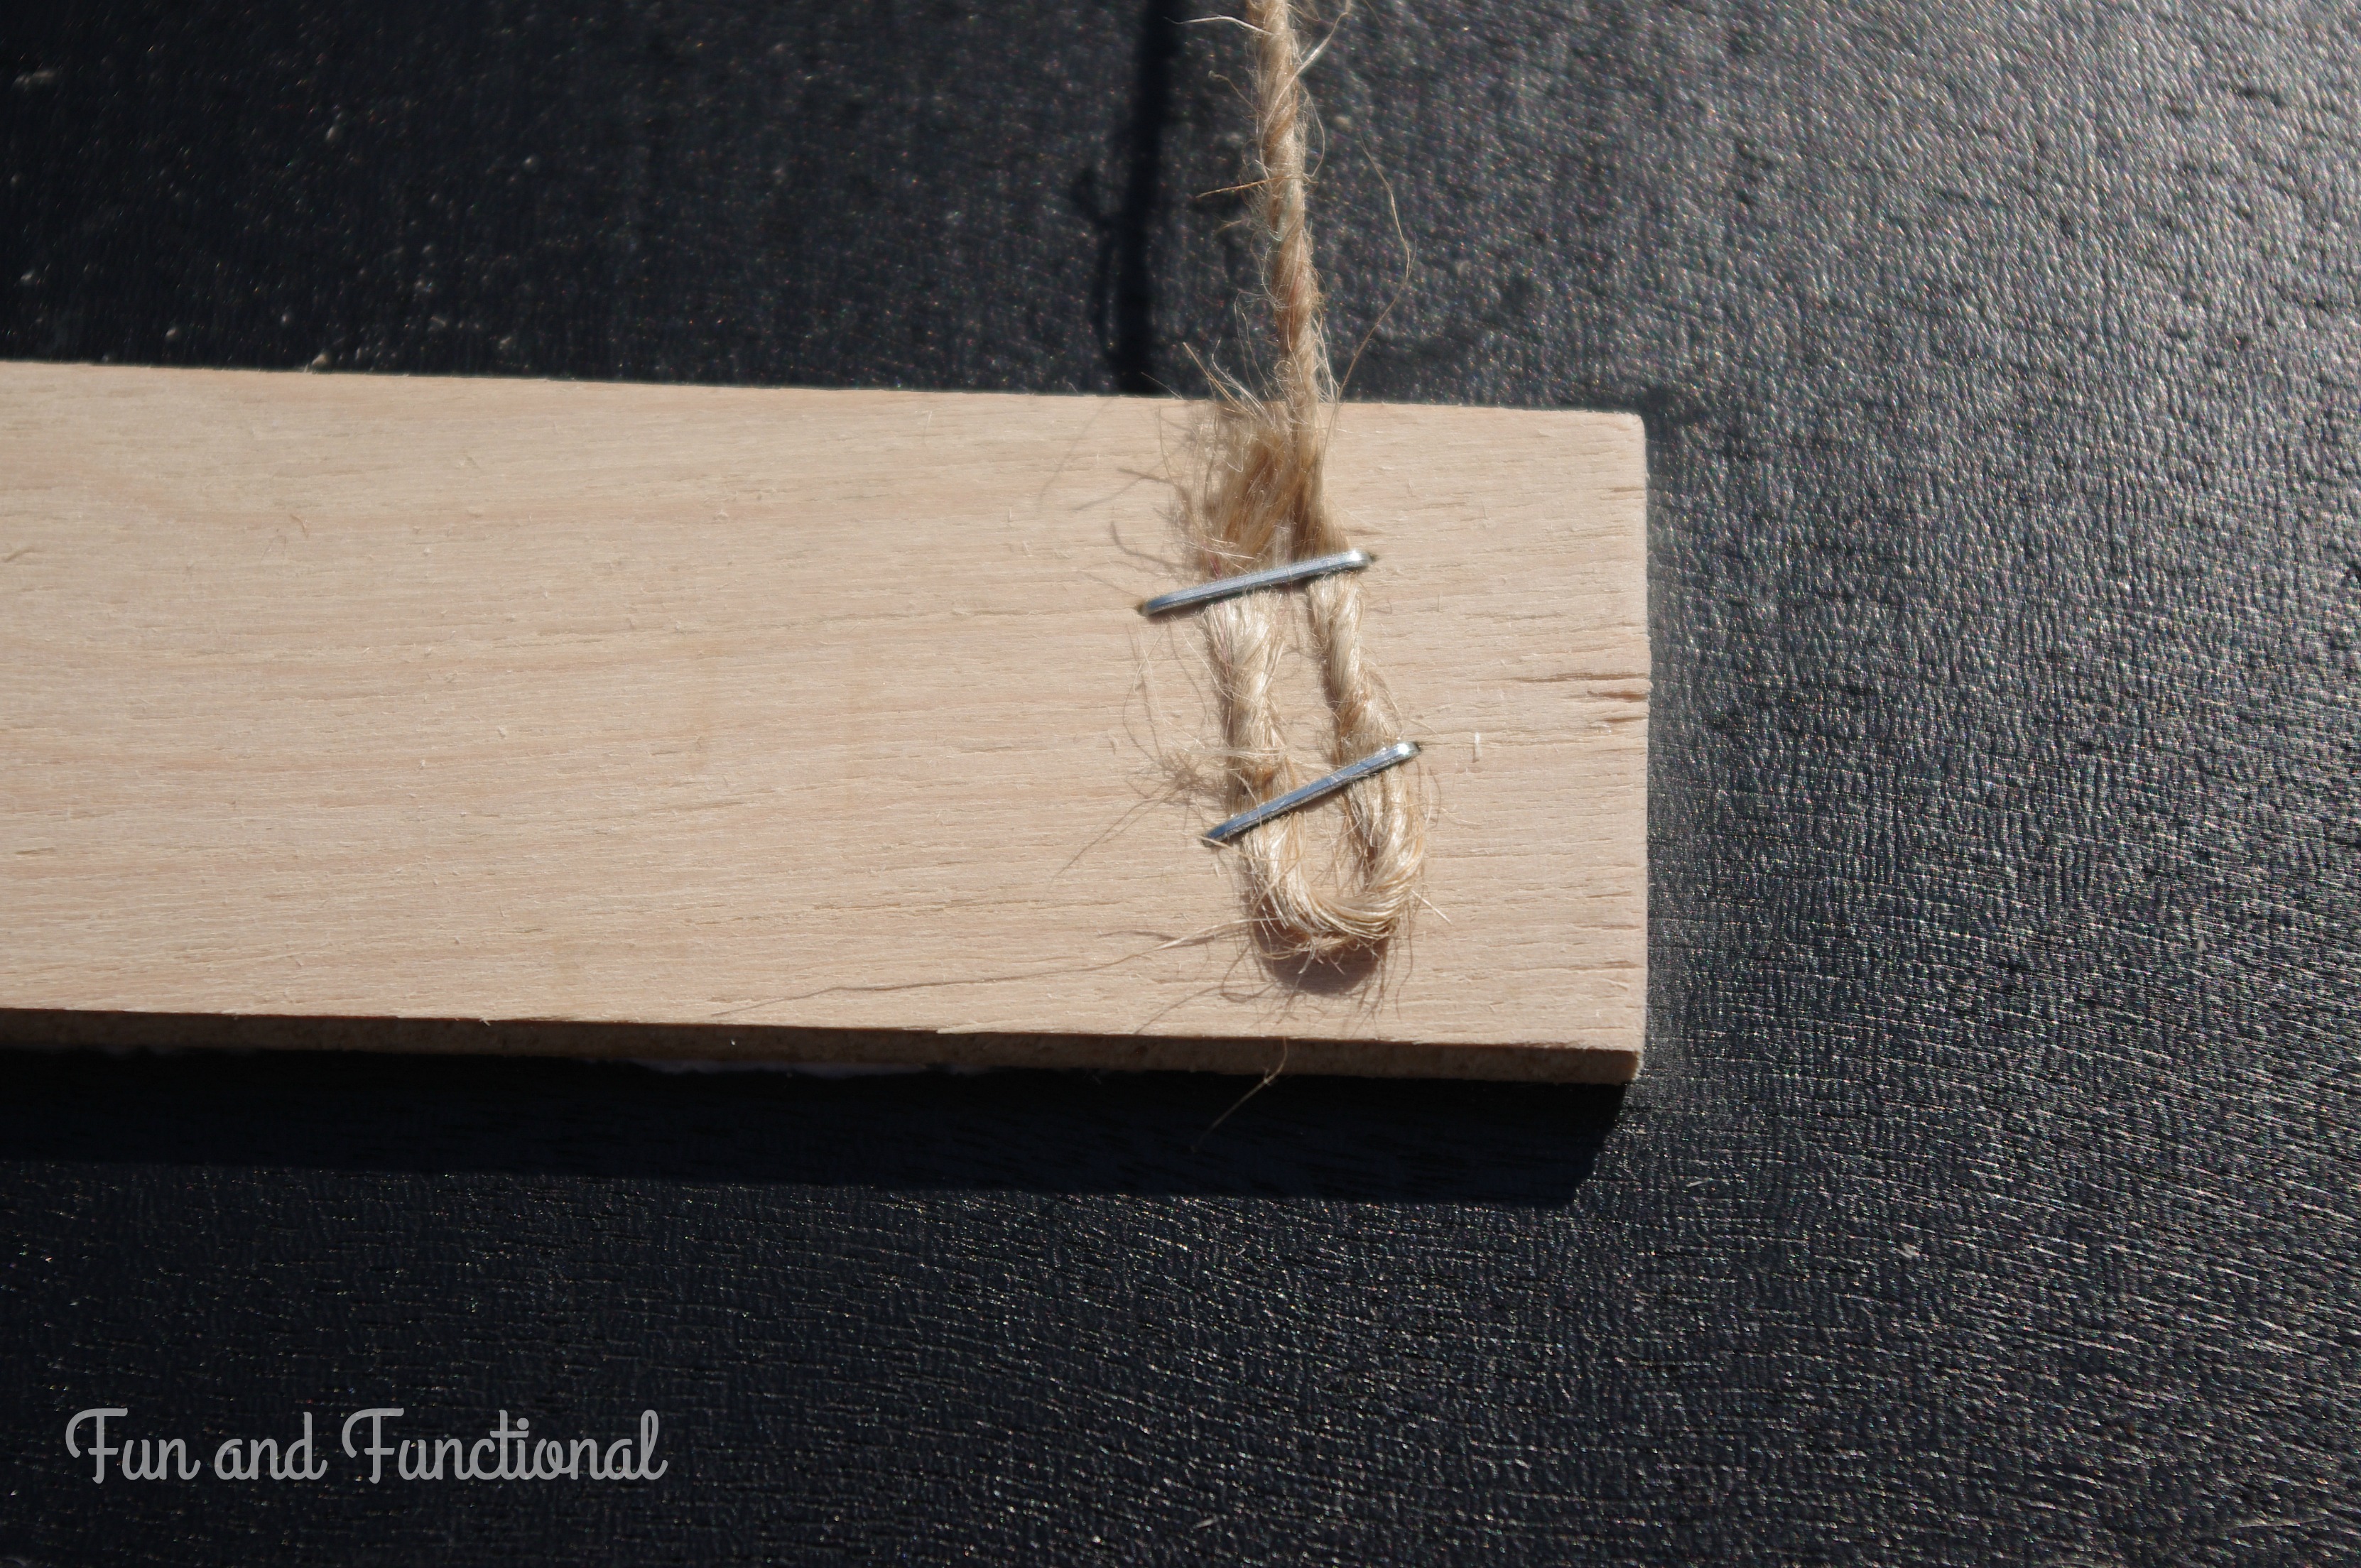
The first step was to staple twine to the back of the sign so art could be displayed with a landscape orientation. The board was thin and I didn’t want to risk the staple showing through, so I glued two pieces of wood trim to the back first. Then I stapled the twine directly to that. I folded the ends of the twine so the staple had more to hold on to. This seemed to make it more secure.
When that was done, I applied the magnetic paint to the signs with a foam roller. This was the first time I used magnetic paint, so I learned a few things along the way (more on that below). When it was all done, I had applied six coats of paint. This is probably way more than I needed, but I wanted the magnets to stick!
Lessons Learned From Working With Magnetic Primer:
- Stir, stir, and stir some more. The particles in the paint collect in the bottom of the paint can, so make sure to stir a lot while also scraping the bottom of the paint can.
- Since it is oil based paint, it is important to wear gloves. I also used a cheap roller so I could just throw it away when I was done with it.
- Use the recommended rare earth magnets. I tried using two other types of magnets at first, but they didn’t work. The rare earth magnets are powerful! I got mine from Home Depot.
For now, I left the boards black. I was originally going to add some color to the front, but I think it looks good the way it is. I can always change it later when I get bored of the plain black.
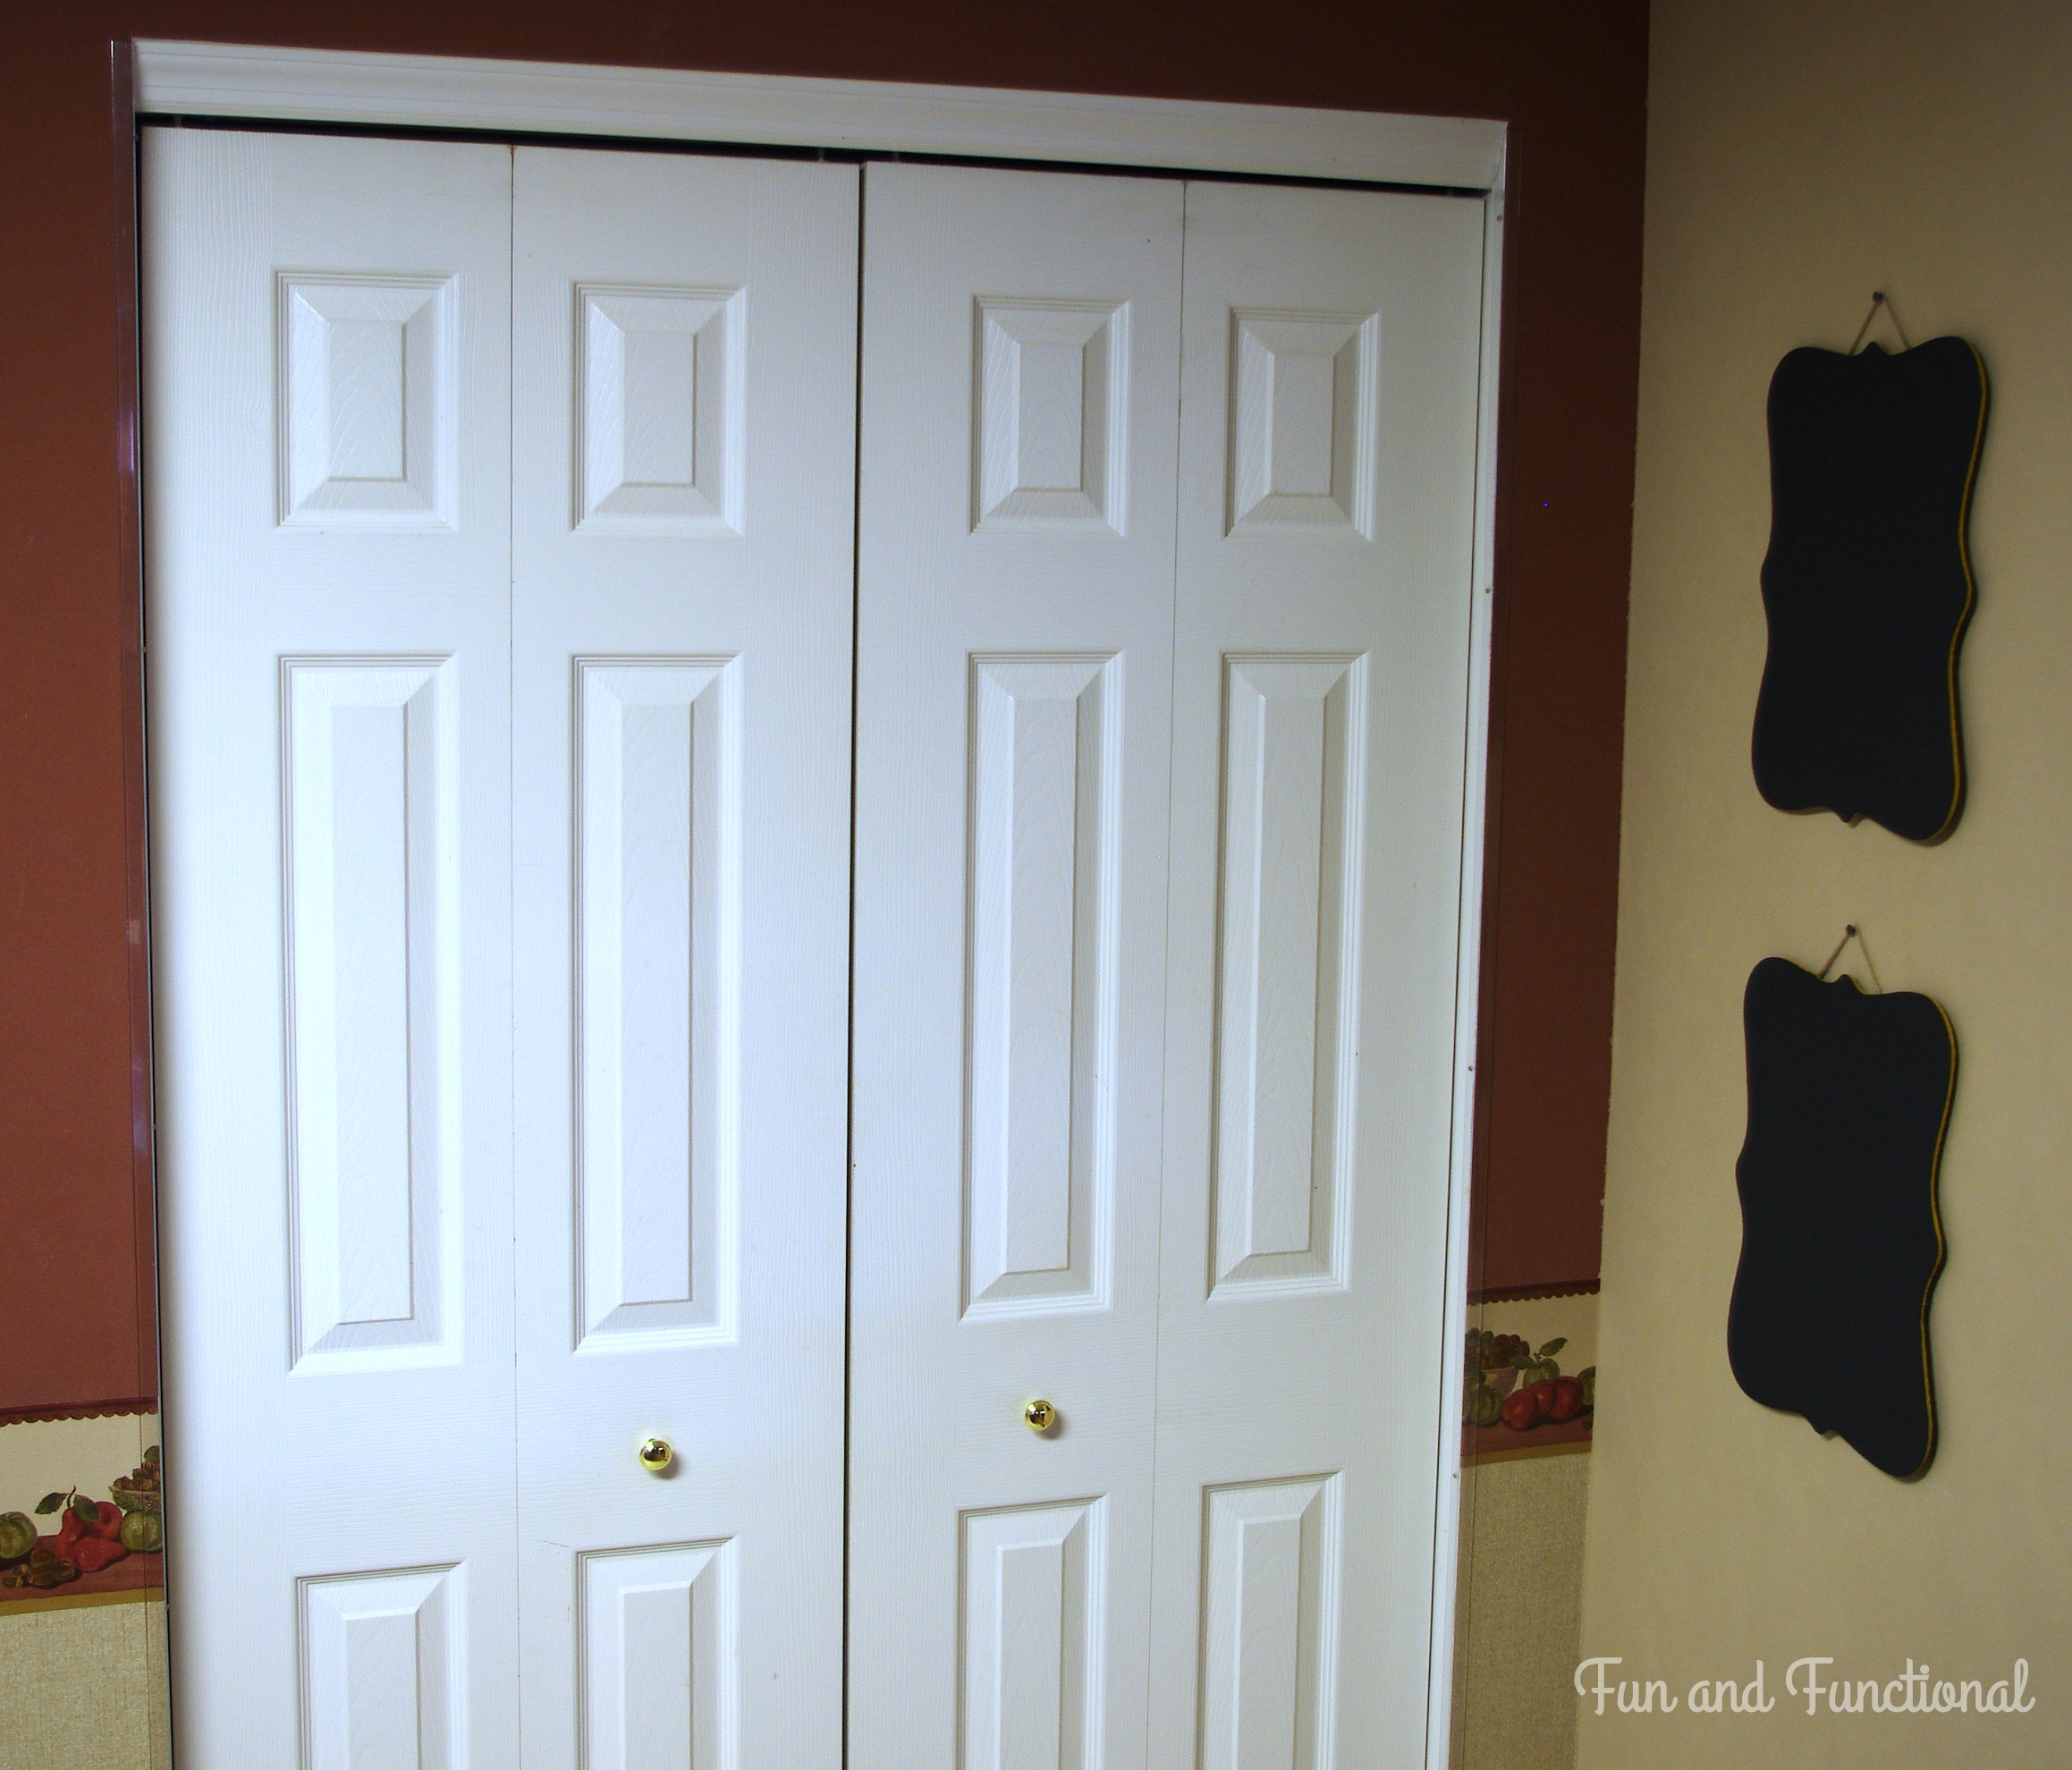
Here are some pictures!
Have you used magnetic paint yet? What did you do with it? I would love to hear all about your projects in the comments.
Have a great day!
♥Jena♥
This post contains affiliate links. For more information, see my disclosures here.